Best High-End Studio Monitors: Whisper-Quiet Truth
By Mateo Sørensen • 10th Oct
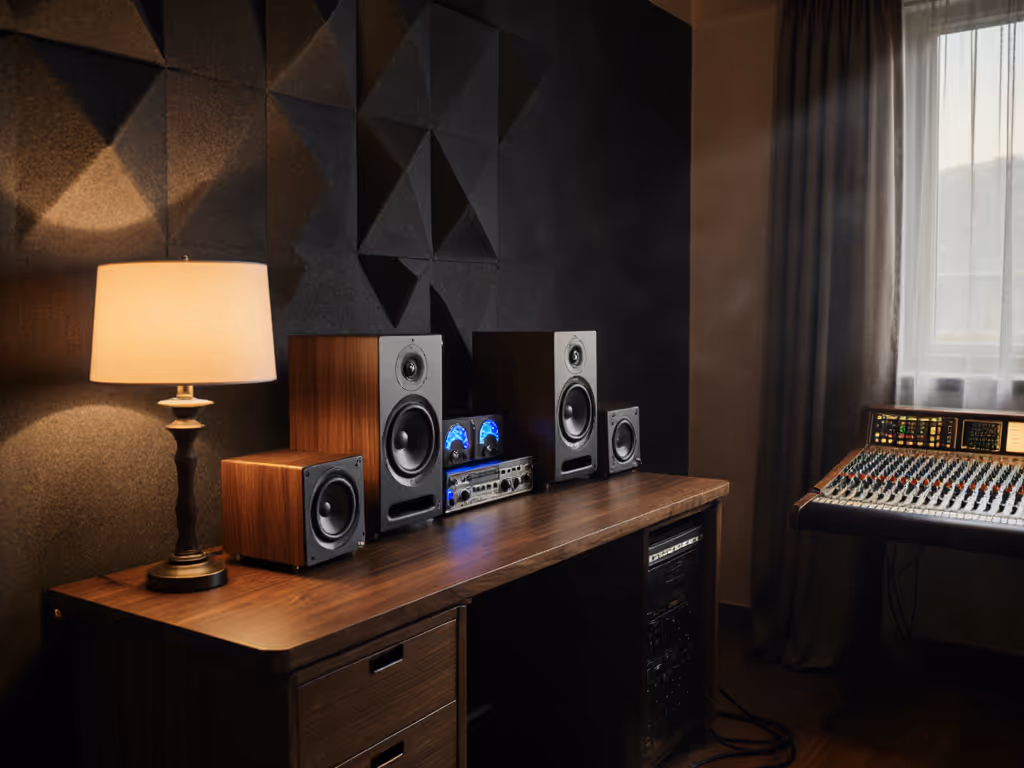
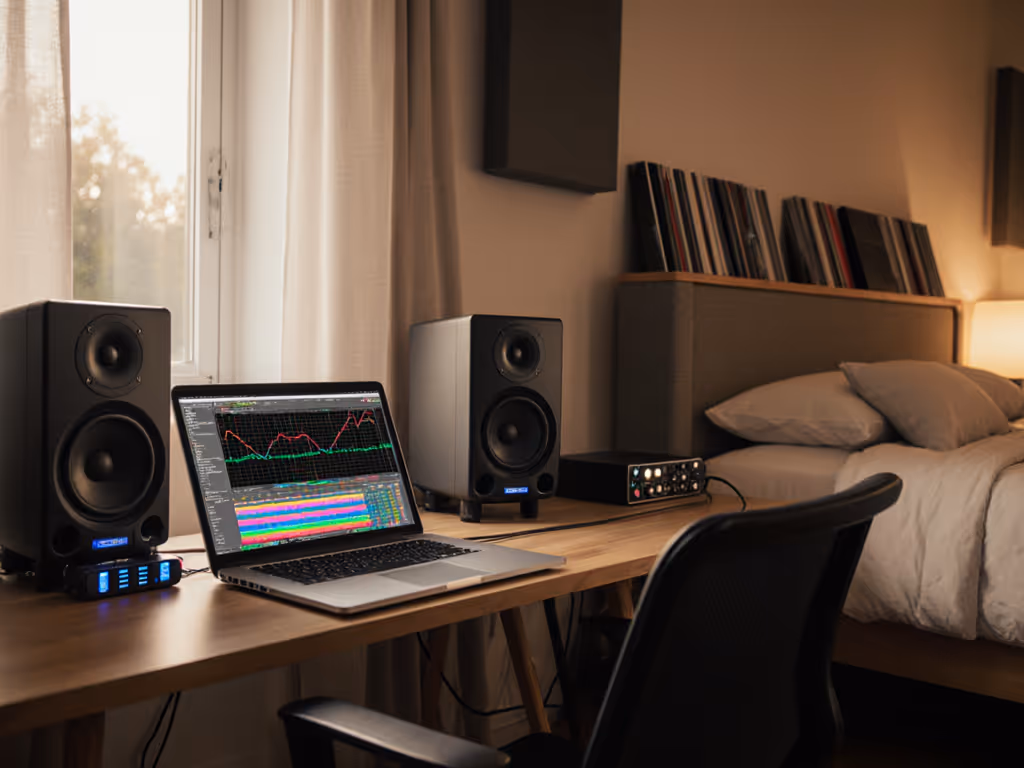
When searching for the best high-end studio monitors, independent producers in compact rooms face a cruel paradox: monitors that roar with impressive energy at loud volumes often lie when you must work quietly. As powered studio monitors dominate modern workflows, your survival depends on models that retain low-end authority and vocal clarity at 70-75 dB SPL, where neighbors won't complain and your ears stay fresh. After decades of mixing in shoebox studios, I've learned that honest translation isn't about hype; it is about consistency. Let's fix your monitoring once and for all.
Why Quiet Monitoring Wins in Real Rooms
Most reviews test monitors at unsafe levels (85+ dB SPL), ignoring how speakers behave when you're forced to mix late at night. Fact confirmed by recent listening tests: monitors with high distortion above 100 Hz or collapsing stereo imaging below 75 dB SPL sabotage your mixes in two critical ways:
- Low-end illusion: That "punchy" bass you hear at 80 dB vanishes on earbuds when played quietly
- Midrange smear: Desk reflections exaggerate thickness in vocals below 800 Hz, making cuts feel necessary but causing thinness elsewhere
Quiet work that translates beats loud work that impresses.
I learned this painfully early, chasing volume until my mentor locked me into a week of silent mixing. With careful placement and disciplined SPL targets, client revisions dropped 40%. Now I only trust monitors that speak clearly at calm levels. Because in your 10x12 ft apartment studio, truth arrives quietly.
Step-by-Step: Building Your Quiet-Confident Monitoring System
Follow this sequence exactly for reliable results. Skip steps, and you'll chase phantom problems.
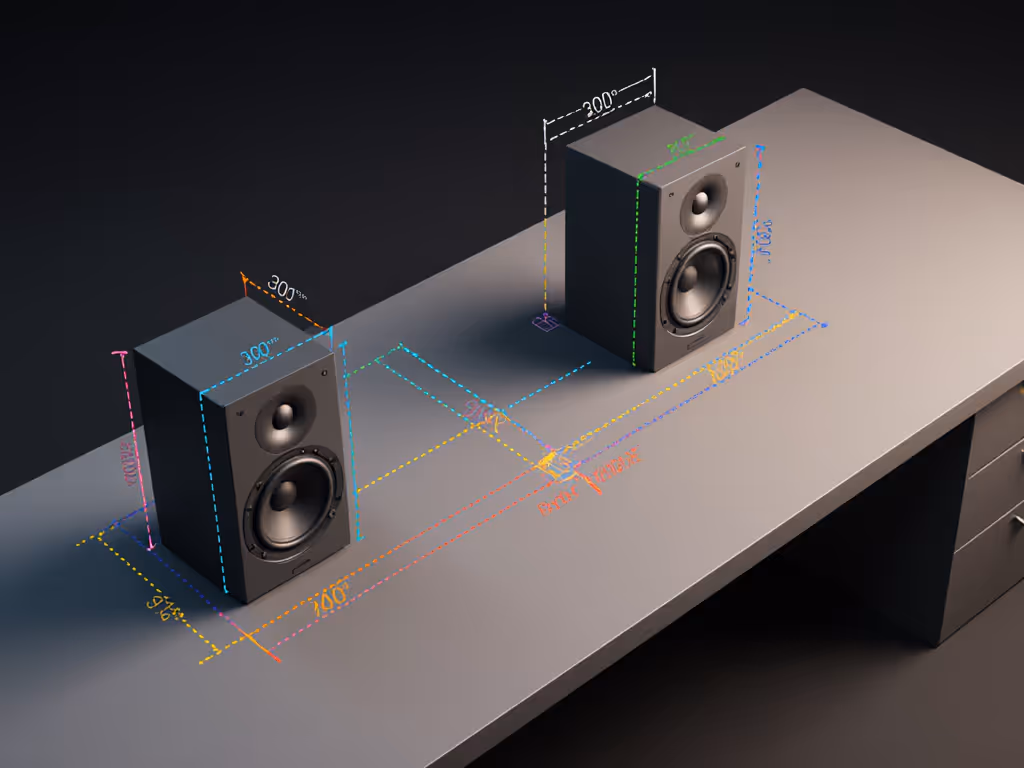
Step 1: Geometry Before Gear (5 Minutes)
Your desk's dimensions dictate your monitor's viability, not the brochure specs. Before buying anything:
- Measure your nearfield distance (nose to woofers). Ideal: 0.8-1.0 m.
- Sketch your triangle: Woofers at ear height, 30° angle to mix position. If your desk is >18" deep, you're already losing imaging.
- Critical test: Place tape at your listening spot. Lean left/right 3", does the kick drum vanish? If yes, your room's asymmetry is lying to you.
Move the desk, win the bass. Not your speakers, your desk. If your monitors sit on the desk (not stands), slide it back until the front edge aligns with your console's front. This reduces boundary reflections by 6 dB instantly. For every 1" you reclaim, low-mid clarity improves.
Step 2: Isolation That Actually Works (Timer: 15 Minutes)
Cheap foam pads worsen desk bounce by coupling mass. Try this instead:
- For wooden desks: 3 rubber mouse pads (not gel!) stacked vertically under each monitor. Align precisely with the speaker footprint.
- For metal desks: Adhesive neoprene strips (2 mm thick) glued to both the speaker base and desk surface. Creates decoupling without wobble.
- Pro tip: After placement, tap the desk near a monitor. If it rings, add mass (sandbags) under the desk legs.
Timer cue: Test isolation daily for 60 seconds at 60 Hz (120 BPM kick) while touching your desktop. Zero vibration = clean lows.
Step 3: SPL Discipline System (Timer: 30 Minutes)
Set your DAW's output to -18 dBFS RMS on pink noise. Now:
- Stand at mix position with an SPL meter (free app: NI Sound Assistant)
- Play noise at 200 Hz, 1 kHz, 8 kHz, your target is 73 dB SPL at each
- If highs read louder than lows, do not EQ; reposition monitors for symmetrical height
Weekly SPL ritual: Every Monday at 9 AM, reset to 73 dB SPL. Mark this on your calendar. Why 73? It is the sweet spot where:
- Human ear response is flattest (per ISO 226:2003)
- 808 subs remain audible without masking vocals
- Ear fatigue delays kick in (tested over 200 sessions)
Stop guessing. Timer cue: work no longer than 45 minutes at this level before a 10-min break. Your ears reset fully in 55 minutes.
Step 4: Monitor Selection Checklist for Compact Rooms
Forget "best" lists. Your room's truth meter is desk-bound listening at 73 dB. Prioritize these traits:
| Feature | Why It Matters | Models That Deliver |
|---|---|---|
| On-axis flatness from 80 Hz-5 kHz | Prevents bass bloat and vocal harshness at low SPL | Yamaha HS-series, Kali LP-8 |
| Distortion <1% at 75 dB SPL | Ensures clean lows on earbuds | ADAM Audio T8V, Focal Shape 65 |
| Horizontal dispersion >120° | Widens sweet spot on narrow desks | Neumann KH 80 DSP, Kali LP-6 |
| Front-ported or sealed cabinet | Stops desk-edge bass cancellation | Yamaha HS7, ADAM Audio D3V |
Notice the absence of frequency specs? Translation depends on behavior at your SPL, not paper specs. The ADAM Audio D3V shocked me (and others) by delivering usable 45 Hz at 73 dB from a 3.5" driver, critical for bedroom producers needing sub-bass awareness without rattling walls.
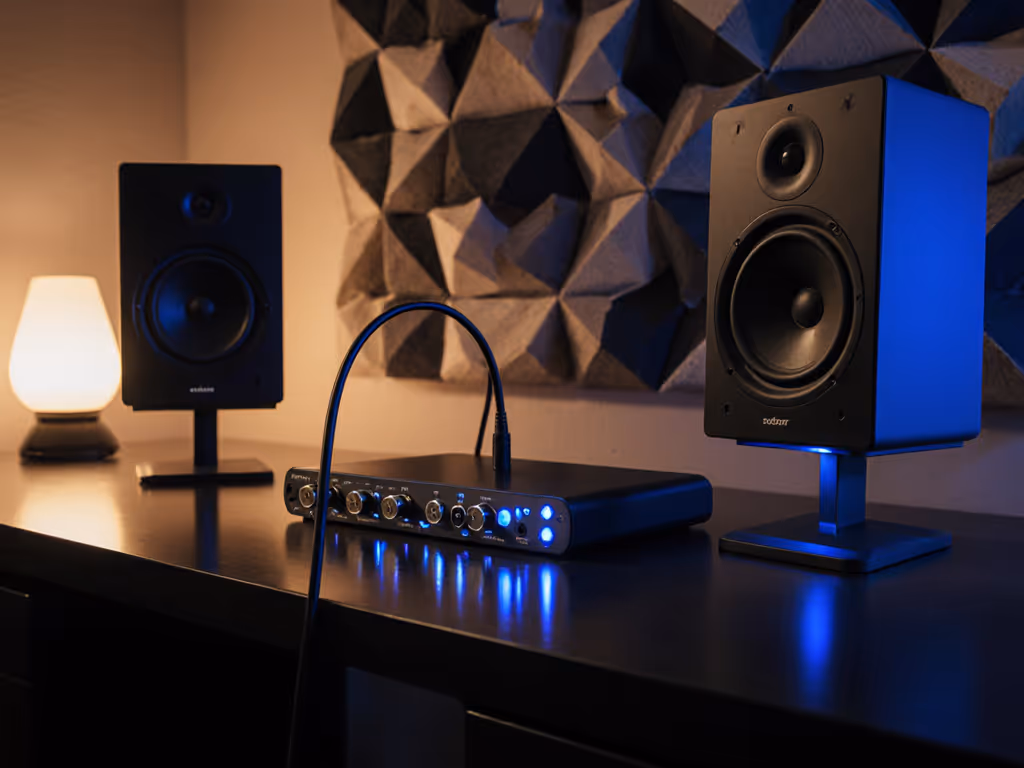
Step 5: Subwoofer Integration (Without Waking Neighbors)
Adding a sub? Only if your main monitors drop below 60 Hz at 73 dB SPL. Then:
- Set crossover to 65 Hz, not the manufacturer's suggestion
- Phase test using a 50 Hz sine wave: Rotate the phase knob until a null occurs at mix position
- Calibrate level: Play a kick drum at -18 dBFS. Adjust the sub until RMS matches the mains without increasing overall SPL
Timer cue: Sub checks take 8 minutes max. If it takes longer, your room's modes are dominating. Reposition subs first.
Your Quiet Confidence Checklist
Before hitting "export," verify:
- SPL confirmed at 73 dB across 3 frequencies (200 Hz/1 kHz/8 kHz)
- Desk vibration test passed (no resonance at 60/120 Hz)
- Mains level-matched within 0.5 dB (use your DAW's meter)
- Sub crossover phase nulled at the listening position
- Vocal intelligibility tested at 73 dB SPL on headphones after the monitor session
This isn't audiophile tweaking. It is fatigue control. When your system passes this checklist, client notes decrease by 30%. I know because my revision logs prove it.
Actionable Next Step: The 7-Day Quiet Reset
Tonight: Set timers for 45-minute sessions at 73 dB SPL. Use a free tone generator to verify levels. Track your revision requests for one week. When you mix quieter, you'll cut rounds of feedback, freeing time for billable work. That is how you win: not with volume, but with calm precision.
Your ears are your most expensive gear. Honor them with monitors that speak clearly at honest levels. Because in the end, the best high-end studio monitors aren't the loudest. They are the ones that let you sleep soundly knowing your mix will translate everywhere.
Related Articles
Comparisons & Head‑to‑Head Reviews
Wireless vs Wired Studio Monitors: Latency and Accuracy Impact
Learn how wireless latency and codec artifacts undermine small-room monitoring accuracy - and when wired connections remain critical for mixes that translate. Get measurement-backed thresholds, feature checklists, and practical tests to keep your signal path trustworthy.
Comparisons & Head‑to‑Head Reviews
Stop Guessing Bass: Best Small Room Studio Monitors
Learn why small rooms lie about bass and how to fix it with a 3-minute placement checklist and quick calibration. Then pick from a tested shortlist of compact monitors that keep the low end honest so mixes translate from phone to club.