Adapt Monitor Placement for Your Room Shape
By Lila Okafor • 12th Oct
Room shape fundamentally alters how studio monitors interact with your space. Unlike standardized specs, studio acoustics by room shape demand customized positioning to achieve translation-ready mixes. Square rooms amplify low-frequency build-up at identical dimensions, while L-shaped layouts fracture early reflections asymmetrically. Evidence from lab measurements reveals that predictable off-axis wins when placement adapts to geometry, cutting revision loops by aligning monitor behavior with your room's actual pressure zones.
Core Placement Principles Across Geometries
Three non-negotiable rules apply irrespective of room shape:
- Ear-Level Tweeters: Height errors exceeding 15° vertically skew phase coherence above 2 kHz (3, 7).
- Symmetry Axis: Center your head and monitors on the room's left-right midline to equalize reflection paths (1, 5).
- Boundary Distances: Avoid equidistant placement from side/rear walls (e.g., 12" from both). This excites overlapping axial modes (5).
"Curves matter, but only as far as rooms allow."
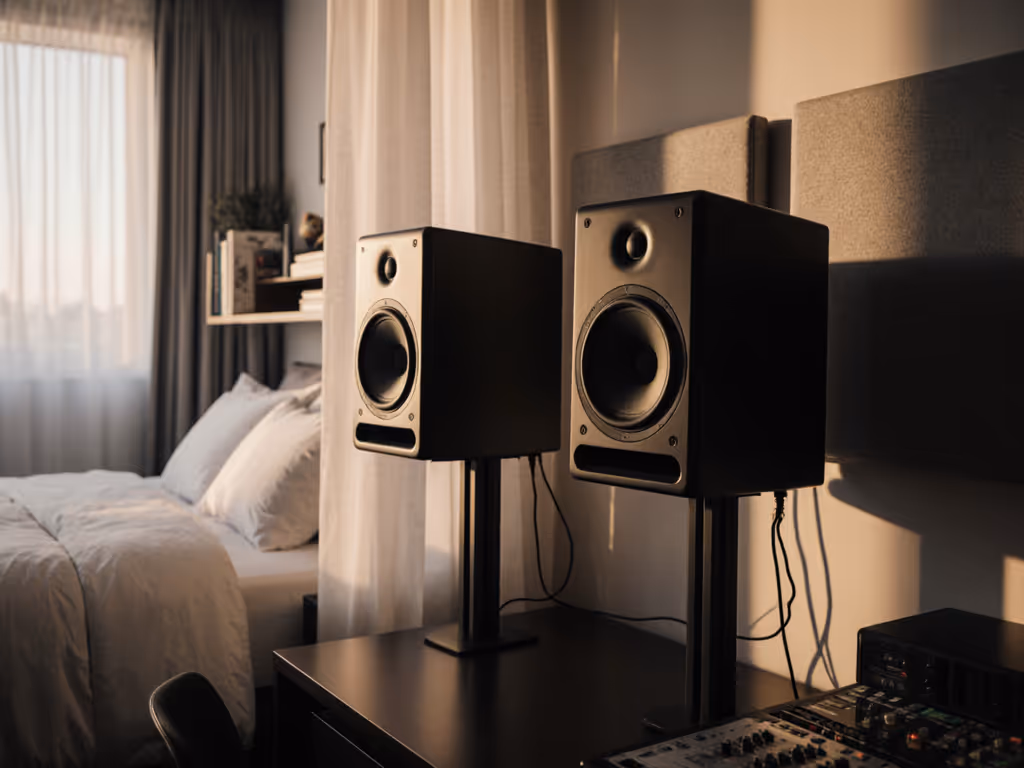
Rectangular Rooms: Optimizing the Short Wall
For rectangular spaces (common in bedrooms/home studios):
- Position monitors along the short wall to minimize rear-wall reflections and extend low-frequency clarity (5, 7).
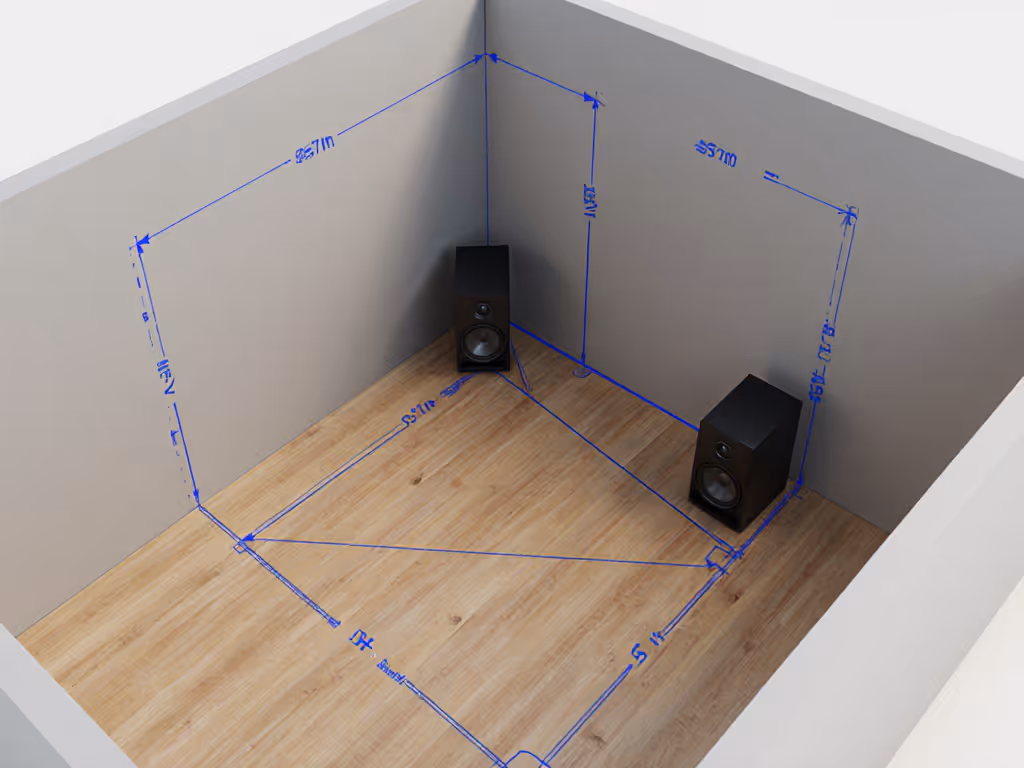
- Calculate the equilateral triangle: If monitors are 1.2 m apart, place your head 1.2 m from each, forming a 60° angle (2, 3).
- Maintain 20 to 30 cm clearance from side walls and 40 to 60 cm from the rear wall to reduce boundary coupling (2).
Square Rooms: Combating Modal Duplicates
Square rooms (e.g., 10×10 ft) suffer reinforced resonances where width/height frequencies overlap:
- Shift monitors off-center by 38% of wall length (e.g., 3.8 ft in a 10×10 room) to disrupt standing waves (6).
- Angle monitors at 45° toward the listening position, trading stereo width for reduced LF cancellation (5).
- Deploy bass traps in corners, where modes cluster below 150 Hz (8).
L-Shaped Rooms: Isolating Your Monitoring Zone
In irregular layouts (e.g., desk in a room corner):
- Treat the monitoring area as a "room within a room." Use freestanding panels to create temporary symmetry (8).
- Place monitors on the longer leg of the "L," firing down the extended axis to utilize rearmost absorption (4).
- Employ DSP correction (e.g., KRK's boundary EQ presets) to counter asymmetric reflections, but only after optimizing physical placement (1).
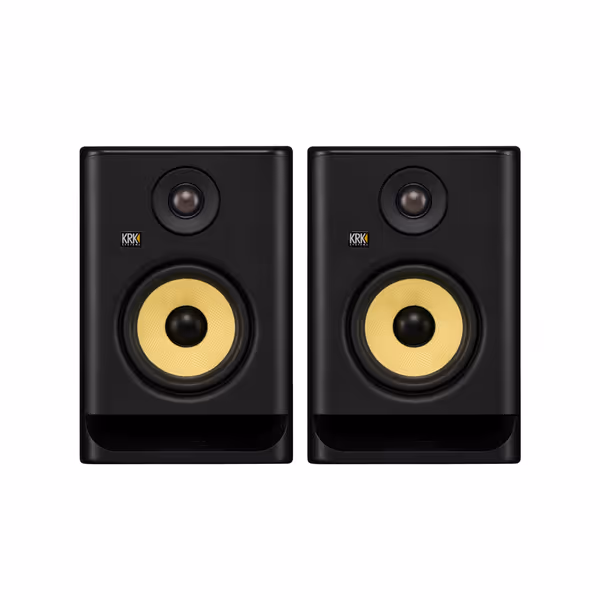
KRK ROKIT 5 G5 Pair
Accurate, balanced mixes with versatile room tuning for compact studios.
$398
Woofer Size5"
Woofer Size5"
Pros
Balanced sound & crystal-clear highs for accurate mixing.
Integrated EQ/room tuning options combat small-room issues.
Compact size delivers powerful performance and fits tight spaces.
Cons
External DSP might be preferred for advanced correction.
Small monitors have physical bass limits at high SPLs.
Customers praise these studio monitors for their balanced sound profile and crystal clear highs, with one customer noting their powerful EQ/room tuning options. They appreciate the build quality, appearance, and value for money, and one customer mentions that the compact size doesn't compromise performance.
Customers praise these studio monitors for their balanced sound profile and crystal clear highs, with one customer noting their powerful EQ/room tuning options. They appreciate the build quality, appearance, and value for money, and one customer mentions that the compact size doesn't compromise performance.
Compact Rooms & Vertical Constraints
When ceiling height falls below 8 ft:
- Tilt Monitors Downward: Use isolation pads to angle tweeters toward ears, keeping tilt ≤15° (1, 3).
- Raise Monitors: Position 1.4 m high to maximize floor-ceiling modal spread, but avoid exact mid-height (1).
- Desktop setups: Float monitors above the desk using stands like IsoAcoustics ISO-155. Decoupling reduces midrange smearing by 3 to 6 dB (2, 4).
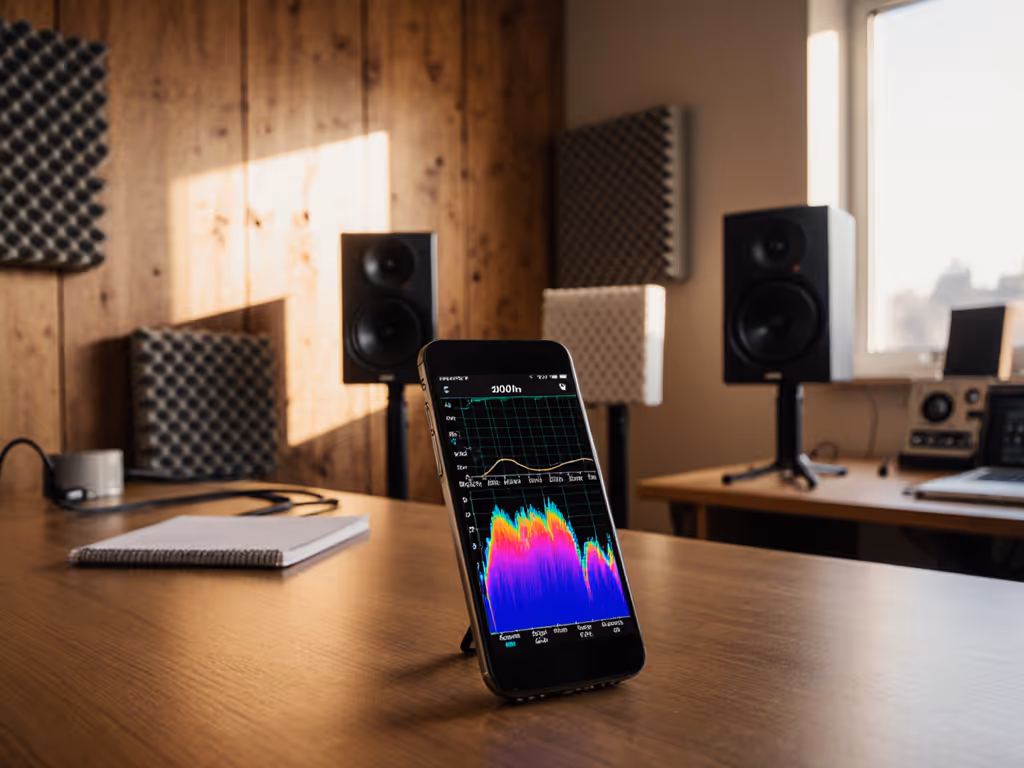
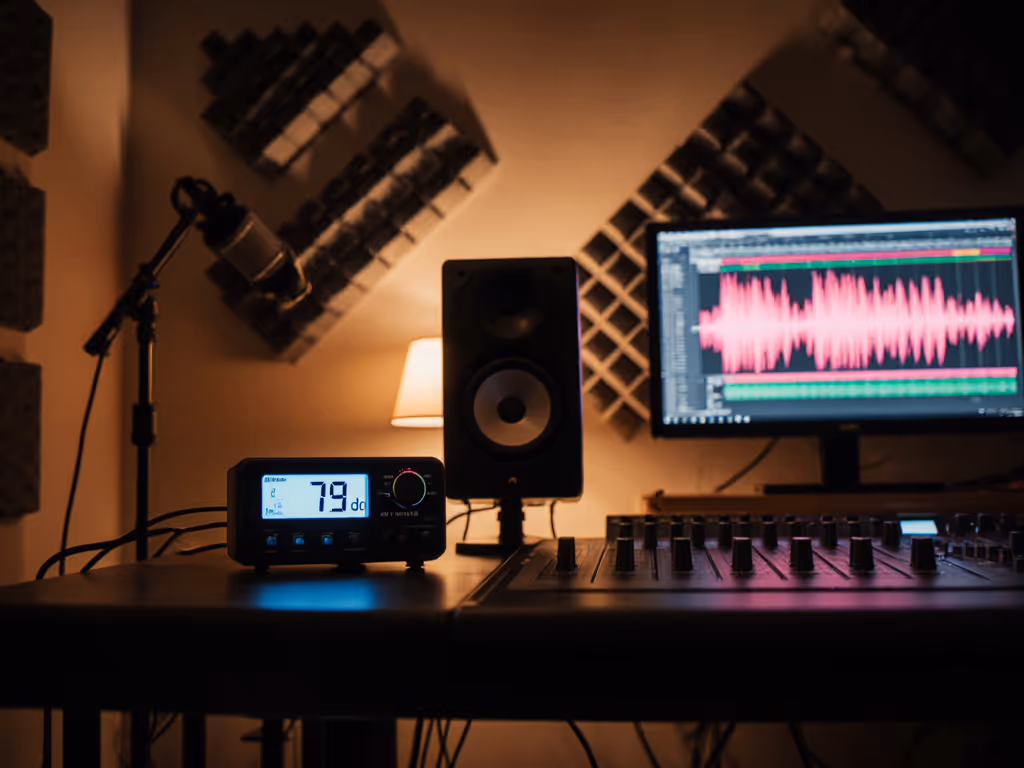
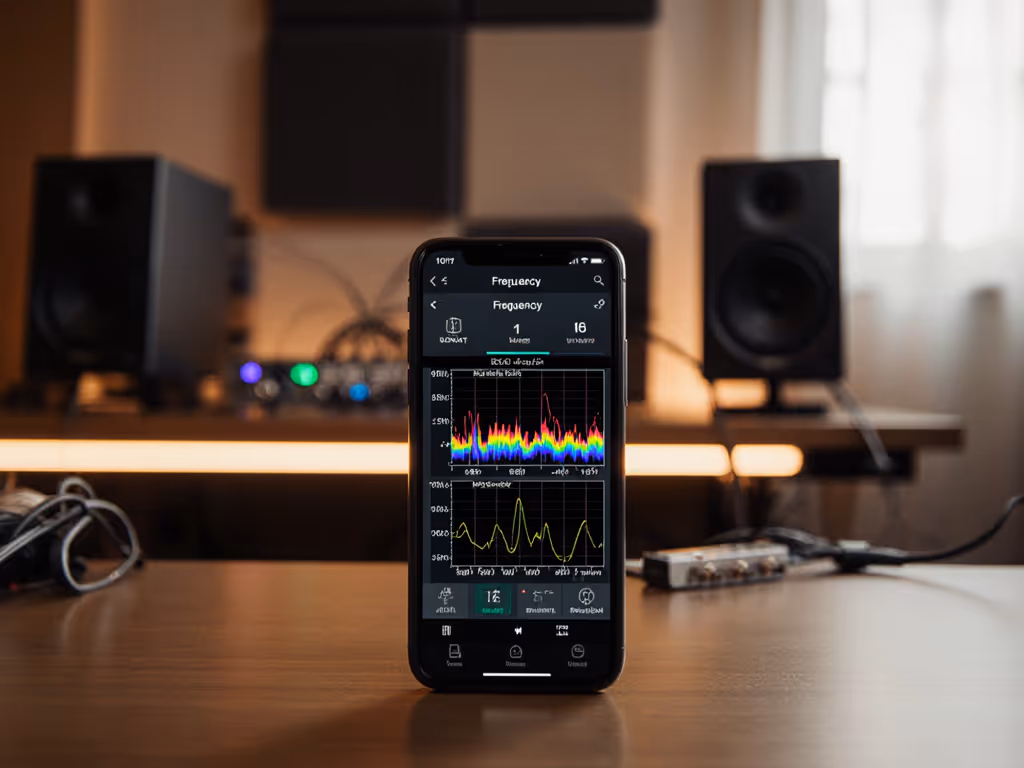
Validation: Trust But Measure
After placement:
- Run sine sweeps (20 Hz to 20 kHz) to detect nulls/peaks ±10 dB. For step-by-step instructions and software recommendations, see our home studio monitor calibration guide.
- Check translation using reference tracks, and lean on mid-forward monitors like Yamaha HS5 for genre-neutral honesty (8).
- Verify off-axis stability: Move laterally 20 cm; the stereo image shouldn't collapse.
Latency Under 10 ms: Why It Matters
In tight spaces, DSP correction (e.g., Sonarworks) aids adaptation, but latency over 1 to 2 ms disrupts recording timing. Monitors like PreSonus Eris 3.5 integrate zero-latency tuning for real-time adjustments (8).
Predictable off-axis wins when placement honors room physics. Translation thrives where geometry guides positioning, not marketing claims.
Related Articles