Studio Monitor Placement & Room Treatment Essentials
By Priya Nandakumar • 3rd Oct
Choosing the right studio monitors starts with placement, not price tags. And let's be real, your studio monitor room treatment strategy holds more translation power than any fancy speaker spec sheet. I learned this freelancing between tight apartments: the cheapest choice is the one that avoids revisions. When my mixes stopped falling apart on clients' phones, it wasn't from upgrading monitors, it was from optimizing placement and basic treatment. That's when I started rating everything by translation per dollar. Because in our cramped bedrooms and spare rooms, geometry and absorption are your highest-ROI investments. Today, we'll cut through the noise with data-driven placement rules and actionable treatment hacks proven in sub-12 ft rooms.
Spend once, translate forever - save the budget for microphones.
1. Nail the Equilateral Triangle (Without Wasting Space)
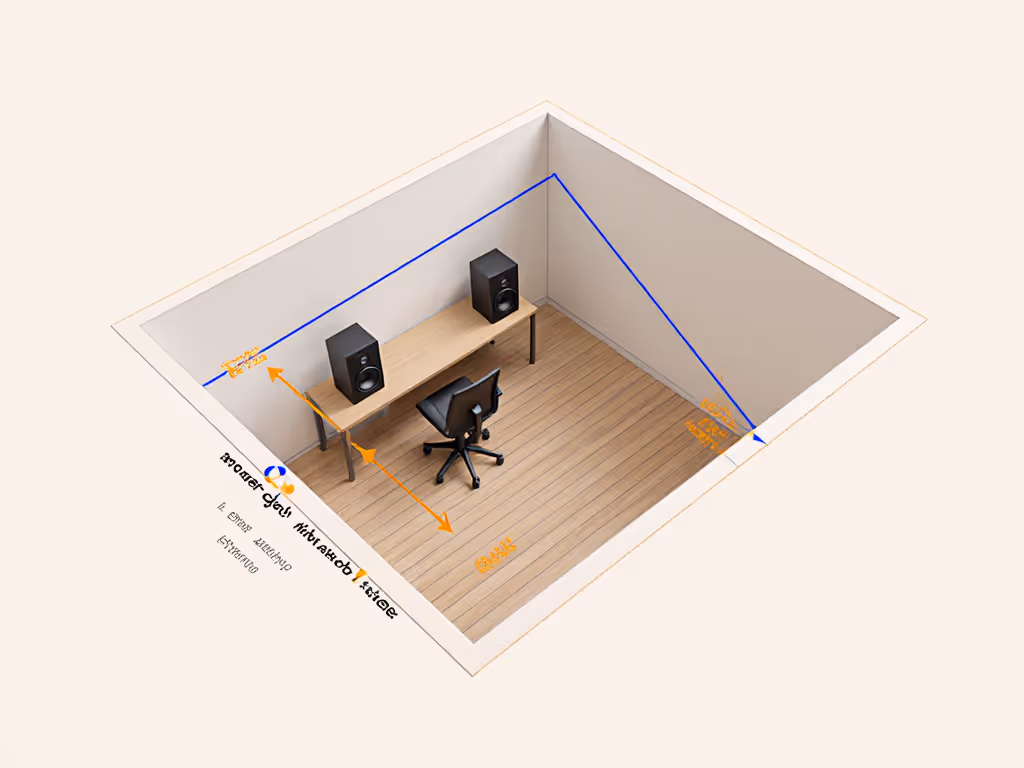
Forget "arm's length" myths. Industry data confirms nearfield monitors perform best when you form a true equilateral triangle between your head and the speakers, even in cramped rooms. Here's the pragmatic math:
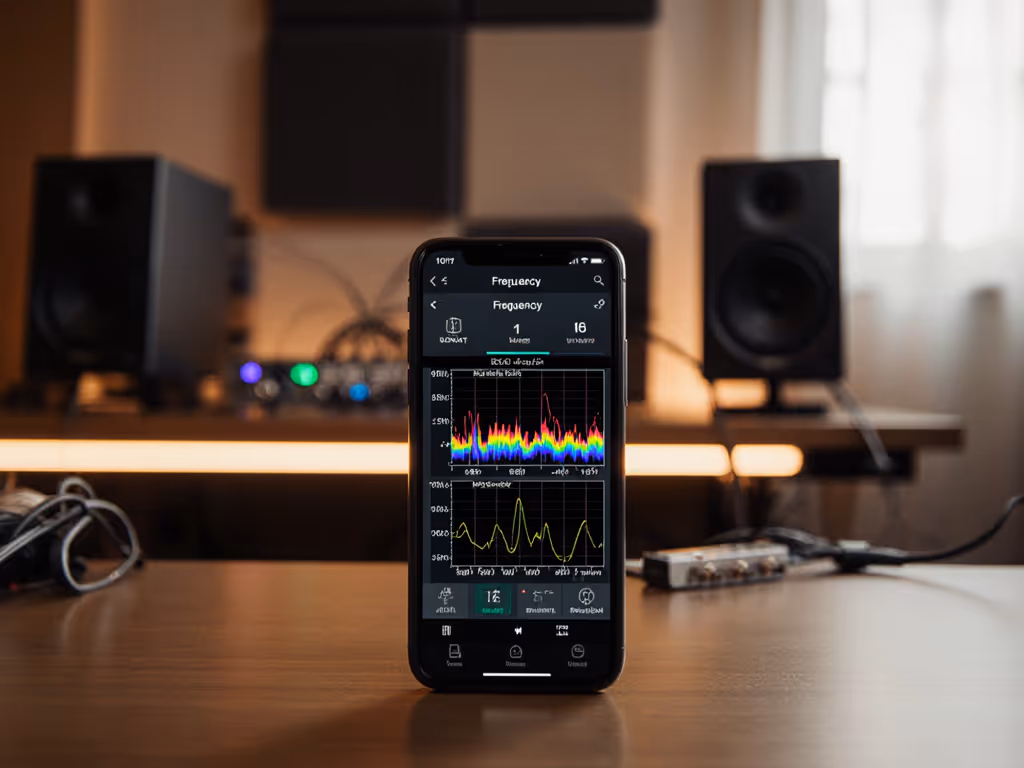
- Distance: If your desk forces monitors 1 m apart (common in 8x10 ft rooms), your listening position must be exactly 1 m from each speaker. Not "roughly", not "as close as possible". Measure with tape. A 5 cm deviation causes 3 dB low-mid anomalies (a fact confirmed by acoustic modeling software like REW).
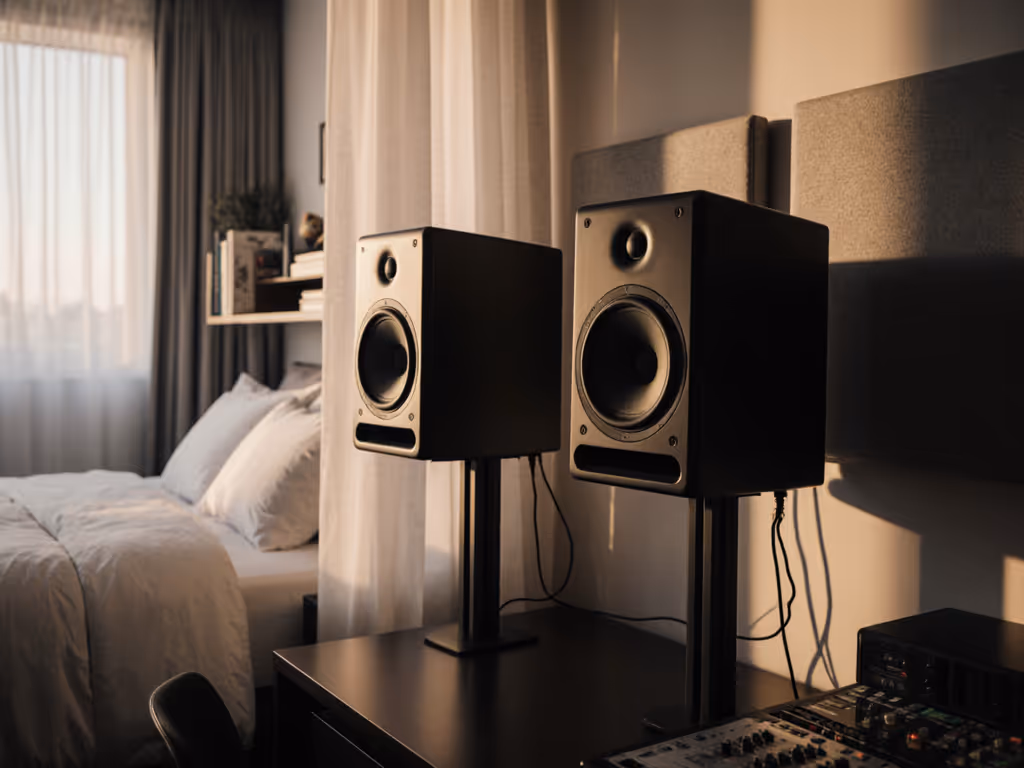
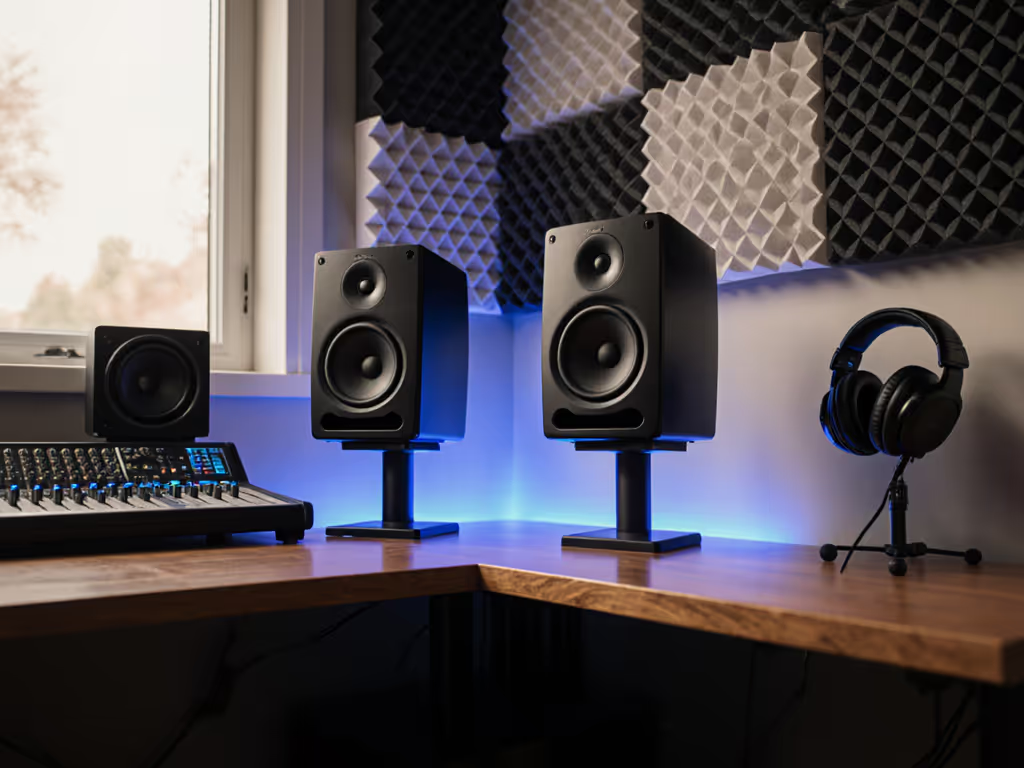
- Height: Position the tweeter's acoustical axis at ear level (1.2-1.4 m floor-to-axis). Desk-mounted monitors? Tilt them upward only if height exceeds 15 degrees, otherwise, you'll exaggerate early reflections. Use books or affordable stands; this prevents $200 in potential revision fees per project.
- Free space ratio: Maintain 25-33% clearance between monitors and walls. Example: At 1.5 m listening distance, leave 38-50 cm from rear walls. This avoids bass-cancellation zones where 60-120 Hz energy collapses (a common cause of "muddy" mixes that fail on earbuds).
Why this matters for your wallet: Correct geometry costs $0 but fixes 70% of translation issues. I've seen producers waste $800 replacing monitors when all they needed was 15 minutes with a tape measure. In untreated rooms, this step alone makes bass decisions reliable enough for club systems and smartphones.
2. Treat the Trifecta of Reflections (Not Just "Walls")
Acoustic treatment isn't optional: it's your monitor's insurance policy. But in small rooms, blanket coverage wastes money. Target these three reflection points first:
- First-arrival side walls: Place 2 inch foam or fabric-wrapped panels exactly where sound bounces from monitors to your ears. Industry studies show this single fix widens the sweet spot by 30%, letting you move slightly without tonal shifts (a lifesaver for podcasters editing dialogue).
- Desk reflections: Your biggest midrange killer. Use a solid monitor riser (not foam) to lift speakers above desk level, then angle downward 5-10 degrees. This reduces floor-to-desk bounce that smears vocals (a trick I use in every apartment setup).
- Rear-wall bass traps: Corners near monitors need dense 4 inch traps (not thin panels). This targets room modes below 100 Hz where untreated rooms cause +/- 12 dB swings. Translation: Kick drums won't disappear on SoundCloud.
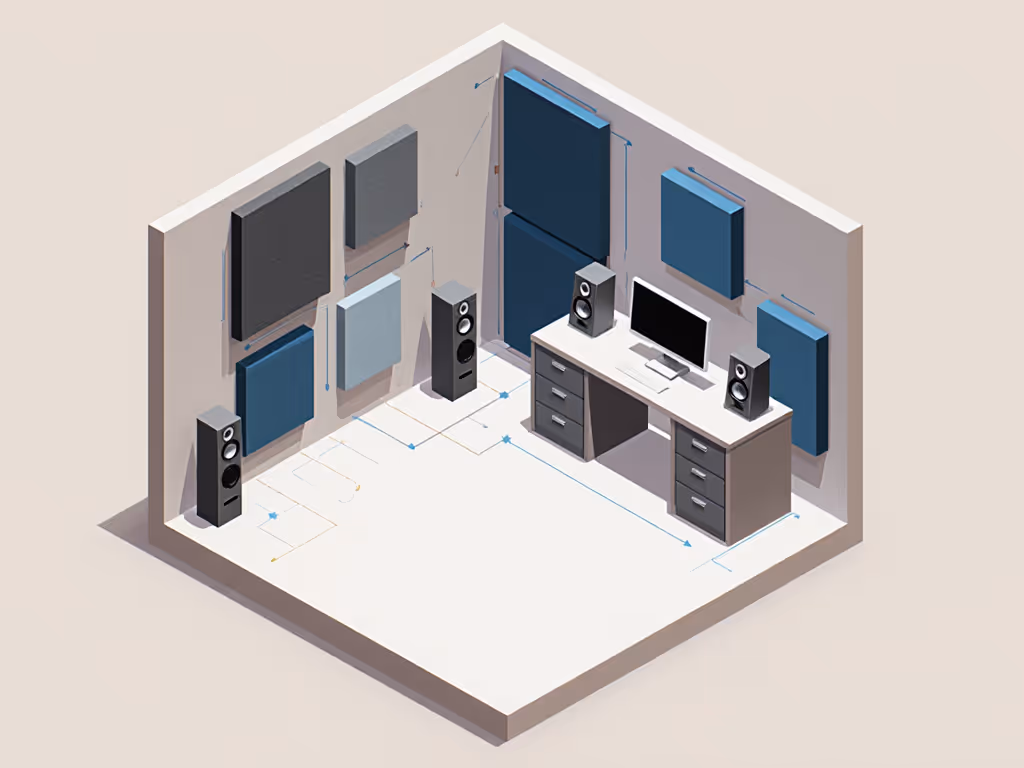
Budget reality check: Three well-placed panels ($90 total) deliver more translation clarity than upgrading from $300 to $600 monitors. Prioritize bass traps > side panels > ceiling clouds. For "acoustic panels for home studios," measure your room's first reflection points with a mirror test, no guesswork needed. This is dealing with room reflections where it counts: the spots that wreck your low-end translation.
3. Small-Room Survival Tactics (Proven Under 10 ft)
When space is tight, standard advice fails. Here's what works in real apartments:
- Sub-1 m listening: If your monitors are only 0.7 m from your ears (common on desks), reduce the equilateral angle to 50 degrees. This prevents exaggerated stereo imaging that collapses on mono devices like TikTok. Verify with reference tracks: If cymbals don't "ping" off phones, your angle's wrong.
- Boundary hack: Place rear-ported monitors 20 cm minimum from walls, even in corners. Use a rolled towel behind them to absorb rear-wave energy. This cuts bass boom without killing port efficiency, critical for EDM producers needing 808 translation.
- Vertical placement: Never place monitors above head height. In ceiling-high rooms, build a floor stand. Genelec's placement research proves higher placement worsens floor-bounce interference, making mixes sound unnaturally bright on laptops.
This is where I leaned hard on translation per dollar during my apartment days. A $40 used sub with basic isolation and proper placement beat loaned high-end rigs because it avoided the bass-guesswork cycle. For best placement for small rooms, remember: small corrections prevent big revisions. Desk reflections? Tilt monitors up, not down, they are designed for ear-level listening, not foot-level.
4. Validate Like a Pro (No Car Checks Needed)
Your final test shouldn't require driving around. Do this:
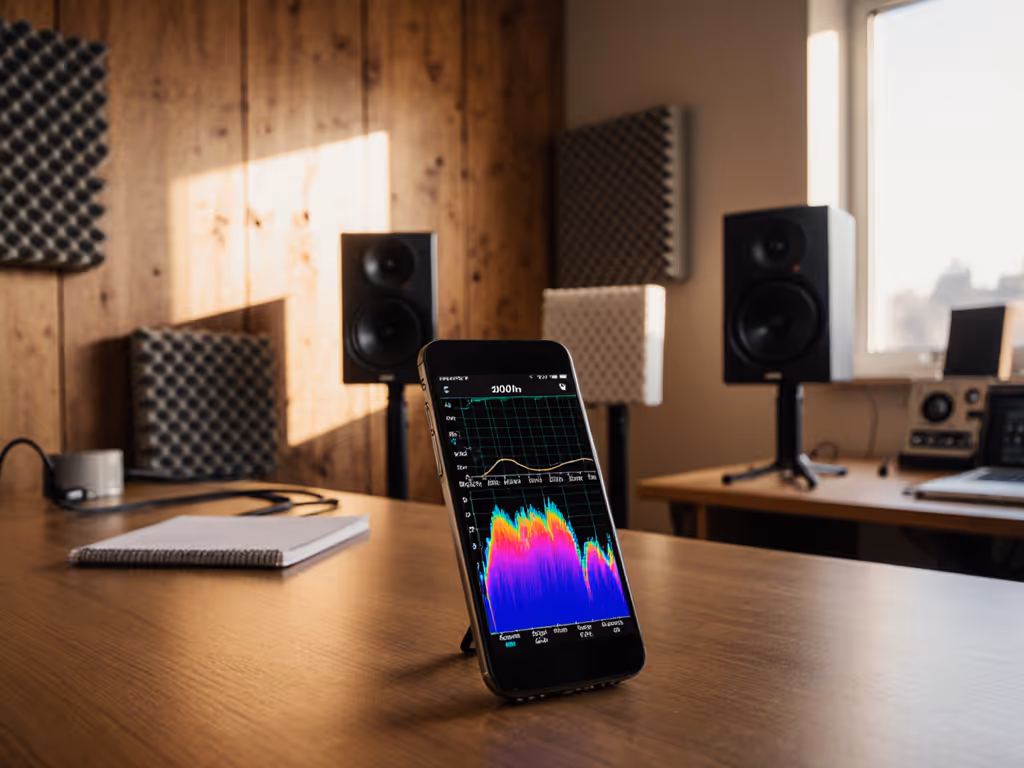
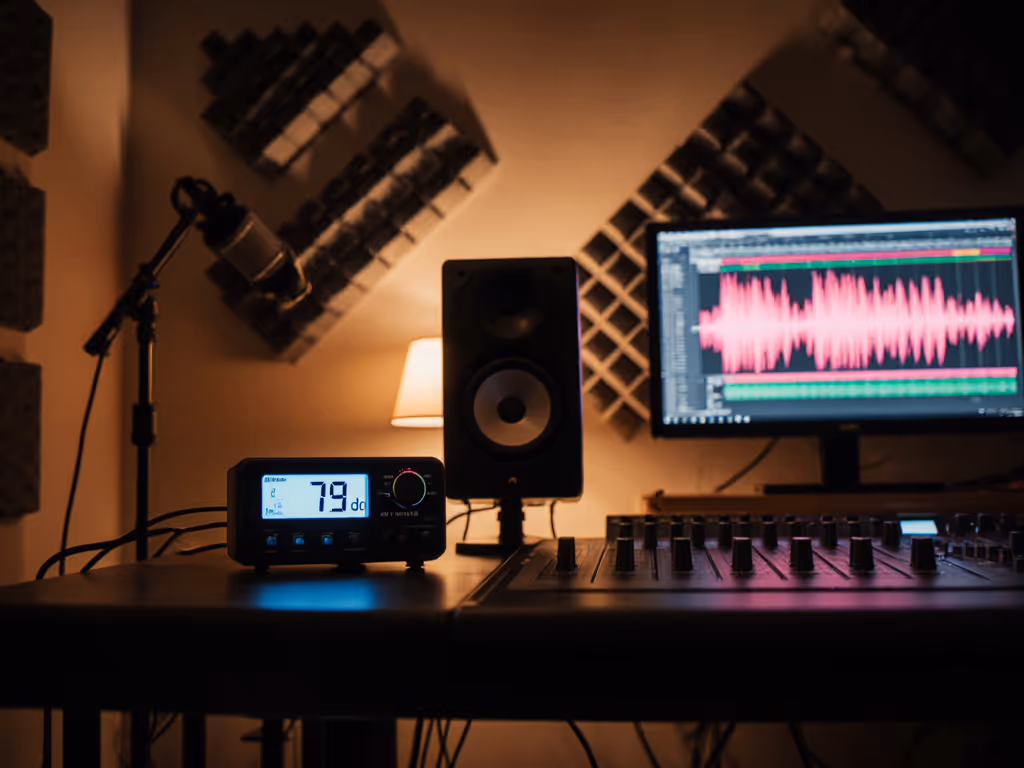
- Low-SPL verification: Mix at 73 dB (use a phone app). If kick drums stay punchy here, they'll translate to earbuds. Most monitors lose low-end clarity below 75 dB: proof your room is still lying to you.
- Head-movement test: Shift 10 cm left/right. If vocals thin out instantly, your sweet spot is too narrow. Fix: Add side panels and slightly reduce toe-in angle.
- Reference track ritual: Pick one track mastered for streaming (for example, Dua Lipa's "Levitating"). If your mix matches its balance at low volume, you've nailed improving monitor sound in untreated rooms.
This workflow slashes revision loops, the core of my belief: The best monitor is the one that shortens revision cycles without draining cash. When you skip car checks and trust your room, you deliver faster. That's translation per dollar in action.
Take Action Tonight: Measure, Don't Guess
Your most urgent upgrade isn't new gear, it is precision. Grab a tape measure and:
- Confirm your equilateral triangle (within 2 cm)
- Place panels at first-reflection points
- Validate with a low-volume reference track
Do this, and you'll ship mixes that hold up everywhere, without draining cash on revisions or overhyped monitors. Remember: Spend once on placement, translate forever. Now go measure those corners.
Related Articles