If you're searching for good studio monitors that actually help you finish tracks instead of creating more doubt, you're not alone. The truth is, finding reliable studio monitor speakers for a small room isn't about chasing specs (it's about establishing a consistent monitoring routine you can trust). I've watched countless bedroom producers chase shiny new gear while their mixes still fail car checks. One teaching assistant's tip changed everything: two tennis balls under each speaker and moving desks off walls suddenly made their mixes travel. That's when I realized: confidence comes from placement and routine, not just the monitors themselves.
For most home creators, you don't need the "best" monitors on paper. You need good studio monitors that tell you the truth in your specific space (without requiring acoustic engineering degrees or constant tweaking). Let's cut through the noise with practical steps that actually solve your pain points.
1. Understand What "Good" Really Means for Your Space
"Good studio monitors" aren't measured by frequency charts alone: they're defined by how they behave in your room. A monitor with perfect specs on paper can lie dramatically in a 10x12 ft bedroom with hard walls.
Your goal isn't studio-grade perfection: it's reliable translation across earbuds, phones, and car systems. This means prioritizing:
- Flat frequency response within your room's limitations
- Clean low-end articulation at nearfield distances (0.7-1.2m)
- Off-axis consistency so small head movements don't change your balance
Trust the routine: Consistent monitoring beats occasionally perfect sound.
Checklist: Before buying
- Measure your desk depth and wall distance (most monitors need 12-18 inches of clearance)
- Note your quietest working volume (many monitors lose bass accuracy below 75dB)
- Identify your biggest translation pain point (bass? high-end harshness?)
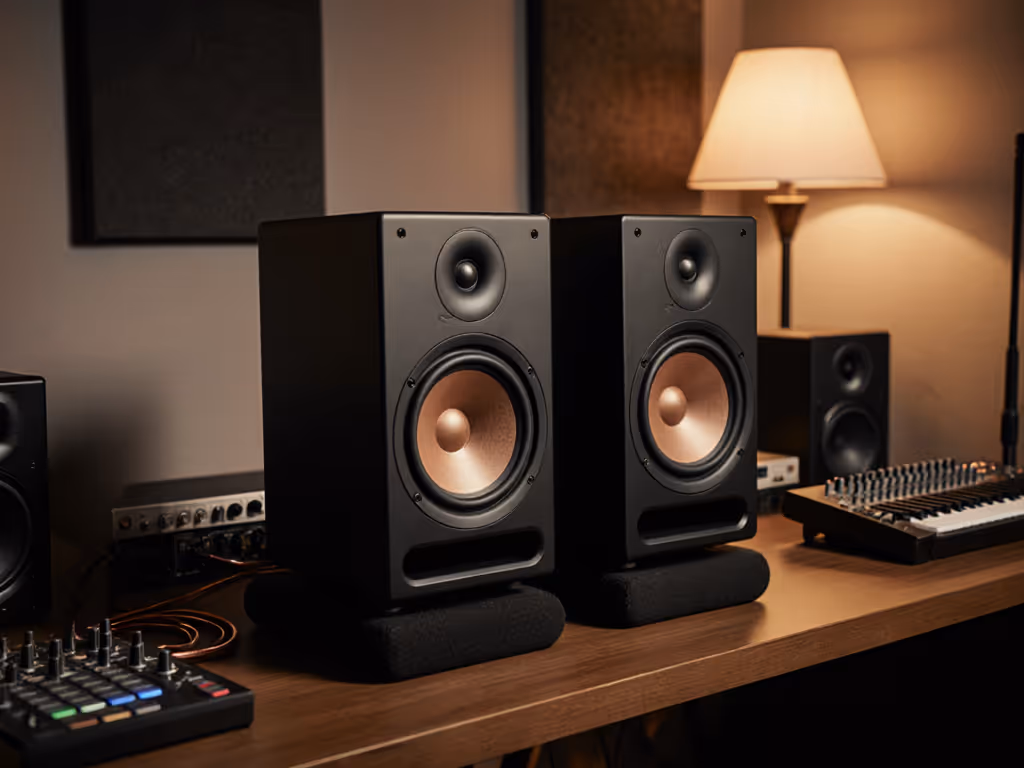
2. Prioritize Nearfield Monitors for Small Rooms
Nearfield monitors (5-6.5 inch drivers) are your sweet spot, because they minimize room interaction by focusing sound directly at your ears before reflections bounce off walls. Larger speakers require more room treatment; smaller ones often lack the low-end truth you need.
Why nearfield works best:
- Reduces boundary interference from walls and desks
- Delivers more direct sound vs. reflected sound
- Maintains clarity at lower listening levels (critical for apartment studios)
That popular 8 inch monitor? It might measure beautifully but will exaggerate room modes in your 10x12 ft space. Your goal isn't maximum SPL: it's honest low-end at your working volume.
3. Avoid the "Exciting" Sound Trap
Many monitors boost highs or bass to sound impressive in demo rooms, but these same traits wreck translation. Your home audio speakers don't need to "wow" you; they need to reveal flaws so you can fix them.
Look for:
- Smooth high-frequency dispersion (no "beaming" that changes with head movement)
- Gradual low-end roll-off (sudden cutoffs lie about mix weight)
- Consistent output from 70-85dB (your quiet nighttime volume)
When students brought me mixes that sounded "huge" on their monitors but thin on phones, we'd A/B with a simple $50 Bluetooth speaker. Suddenly, they heard the missing low-mids. That's the power of honest monitoring.
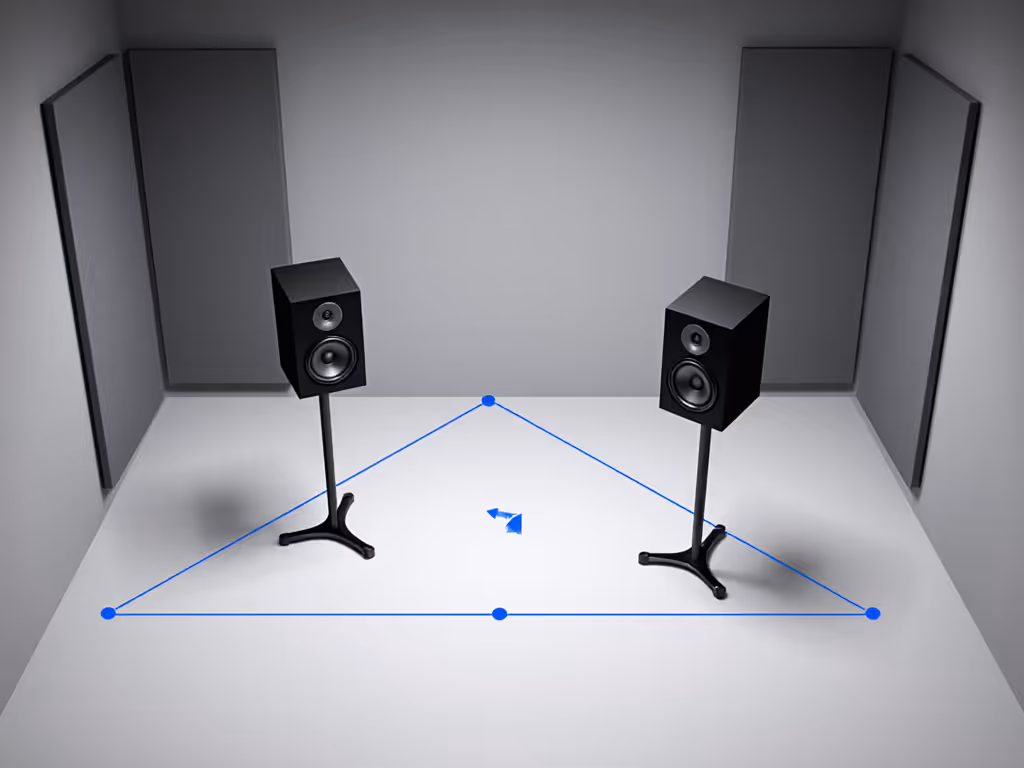
4. Get Placement Right Before You Buy
Your monitor's performance depends 50% on placement. Many beginners buy monitors blindly, then struggle with room issues the speakers can't overcome.
Essential placement rules for small rooms:
- Form an equilateral triangle between head and speakers (distance = speaker separation)
- Position tweeters at ear level
- Keep 12-18 inches from rear/side walls (reduces bass buildup)
- Angle inward 15-30 degrees ("toe-in") to focus imaging
- Elevate off desks (more on this below)
I've seen monitors transform from muddy to clear simply by moving them 6 inches forward on the desk (proof that room integration matters more than marginal spec differences).
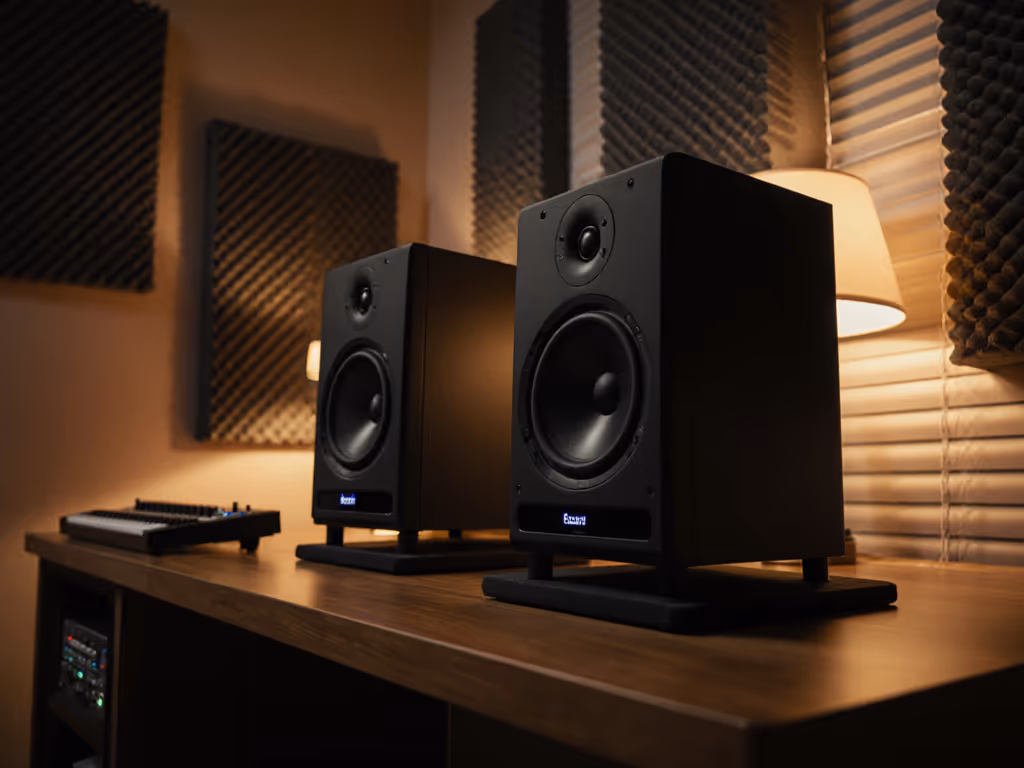
5. Isolate from Desk Resonance (The Tennis Ball Trick)
Most home studios place monitors directly on desks, creating a resonance chamber that exaggerates 100-200Hz. For a step-by-step fix, see our desk reflections and monitor height guide. This is why bass feels unstable and kick drums lose definition.
The solution? Simple decoupling:
- Use dense foam pads or purpose-built iso stands
- Angle monitors slightly downward if elevated
- My favorite quick fix: Two tennis balls under each speaker (as I learned from that teaching assistant breakthrough)
This absorbs vibrations that make your desk "sing" along with the music. The difference isn't subtle, and suddenly your low-end decisions hold up everywhere. No more second-guessing whether that 808 will translate.
6. Verify Flat Frequency Response in Your Room
Manufacturer specs lie about real-world performance. A monitor claiming "45Hz-20kHz" might have a 10dB peak at 60Hz in your space, making mixes bass-heavy everywhere else.
Before committing:
- Check return policies (30+ days ideal)
- Test at your normal volume
- Use reference tracks you know well
- Listen specifically for:
- Consistent bass across your room
- Clear vocal presence without harshness
- Stable imaging when moving slightly
Many creators skip this step and suffer endless revision loops. One client spent six months tweaking mixes that sounded great in his room but bass-light everywhere else, until we discovered his monitors were sitting against the wall, exaggerating lows.
7. Less Tweaking, More Finishing
The ultimate sign of good studio monitors? You stop constantly checking other systems. When your routine becomes reliable, you spend energy finishing songs instead of fixing mixes.
Final checklist for confidence:
- Your desk is pushed 12+ inches from walls
- Monitors are isolated from surface vibrations
- You're working in the sweet spot consistently
- Reference tracks sound balanced at your normal volume
- Mixes translate to 3+ common systems without major fixes
Remember: No monitor is perfect for every room. But with smart placement and realistic expectations, even budget nearfield monitors become trustworthy partners. Set it right once; spend your energy finishing songs.
The studios I help don't have perfect rooms, they have reliable workflows. When producers stop chasing gear upgrades and start trusting their routine, that's when their mixes finally travel. And that's when they get paid faster.
Next Steps for Your Monitoring Journey
Try these diagnostic tests with your current setup:
- Play a trusted reference track at low volume (70dB)
- Walk around your room - does bass fluctuate dramatically?
- Check imaging on vocals - are words clear when slightly off-center?
- Compare to a Bluetooth speaker at similar volume
Notice where your system lies. Then implement one placement fix from this guide. That single change often delivers more improvement than a costly monitor upgrade. For deeper room analysis without expensive gear, search for free frequency response apps that use your phone's mic (just remember they're guides, not gospel).
Trust the routine. Less tweaking means more finished tracks.