Instagram Reels Studio Monitors: Translation Tested
By Jae Min Park • 11th Mar
Instagram Reels studio monitors serve a fundamentally different purpose than traditional mixing monitors, and most content creators don't realize the gap between what sounds good at a studio desk and what actually lands when viewers listen through earbuds, phone speakers, and compressed streaming formats. The real test isn't how impressive your audio sounds in your room, it's whether your dialogue cuts through, your music sits properly, and your effects read clearly on the tiny screens where Reels actually live.
I learned this the hard way watching creators invest in flashy gear only to hear their hard work get buried or distorted on playback. One mentee spent three months perfecting voice-overs on monitors that emphasized presence peaking. Her recordings sounded crisp and energetic (in her room). But on phones? Harsh and fatiguing. The mixes never translated because she wasn't monitoring for the actual listening environment: small drivers, compressed codecs, and the acoustic reality of consumer devices. That day convinced me that honest monitoring paired with intentional translation testing beats expensive speakers every time.
This article walks you through the social media content creator monitors landscape, breaking down what matters for Reels, how to test your audio for real-world translation, and which practical approaches actually reduce revision loops.
1. Understand Why Reels Audio Breaks Traditional Mixing Rules
Before you choose a monitor, you need to accept that Reels-specific monitoring solutions don't follow the audiophile playbook. Instagram's algorithm compresses audio, normalizes loudness using LUFS standards, and delivers your content through devices with tiny drivers and limited frequency response. If you also publish on other short-form platforms, our TikTok studio monitors guide outlines platform-specific translation tactics that complement this Reels workflow.
This means:
- Bass doesn't translate the same way. A kick that feels punchy and controlled on a flat 5-inch nearfield can become a boomy rumble on phone speakers. Conversely, sub-bass you can barely hear in your room might vanish entirely on Reels playback, making dialogue or snare feel hollow.
- Midrange presence gets exaggerated. Consumer phones boost 1-4 kHz naturally. If your mix is already brightened for "clarity," Reels playback will sound shrill and uncomfortable.
- Dynamic range collapses. Your whispered dialogue or delicate background music will compress. Monitor at quiet levels and with intentional headroom, or you'll keep adding loudness and energy that doesn't hold on playback.
- Stereo imaging is irrelevant. Reels are heard in mono or heavily compressed stereo on phone speakers. Spend less energy on perfect left-right separation and more on mono compatibility.
The result: creators who monitor on "good" speakers but don't test translation often overshoot (adding reverb, EQ, or compression that sounds bigger in the studio but suffocates on Reels).
2. Test Your Monitor Setup Against Real Reels Playback Contexts
Set it right once; spend your energy finishing content.
Facebook Reels audio optimization and Instagram Reels use similar processing pipelines, so a single test protocol covers both. Before you invest in new monitors, run this checklist to expose weaknesses in your current setup:
- Export a rough mix and play it on three consumer devices: your phone speaker, earbuds (any brand), and a smart speaker. Does the dialogue sound natural, or does it feel thin, harsh, or swallowed by compression?
- Compare your room mix to phone playback side-by-side. Record a 10-second sample of your voice-over or a key moment, then listen in both environments without EQ'd headphones. Make a note of the EQ differences you hear.
- Check mono compatibility. Pan elements to hard left and right, then collapse to mono. If anything disappears or becomes inaudible, Reels will expose it. Dialogue should remain perfectly clear in mono.
- Upload a test Reel to a private Instagram account and play it back on your phone at 70% volume. This is the true test. Your playback won't match Instagram's exact processing, but you'll get close enough to catch serious problems.
If you hear consistent issues (muddiness, harshness, missing dialogue), your current monitor isn't telling the truth for this application.
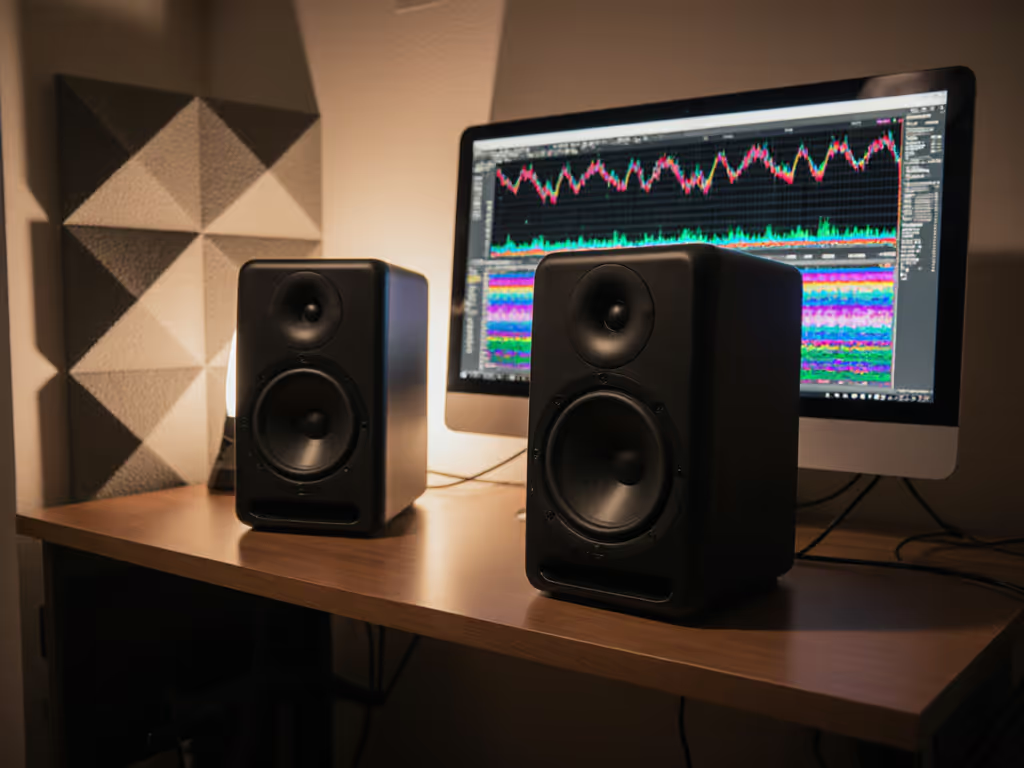
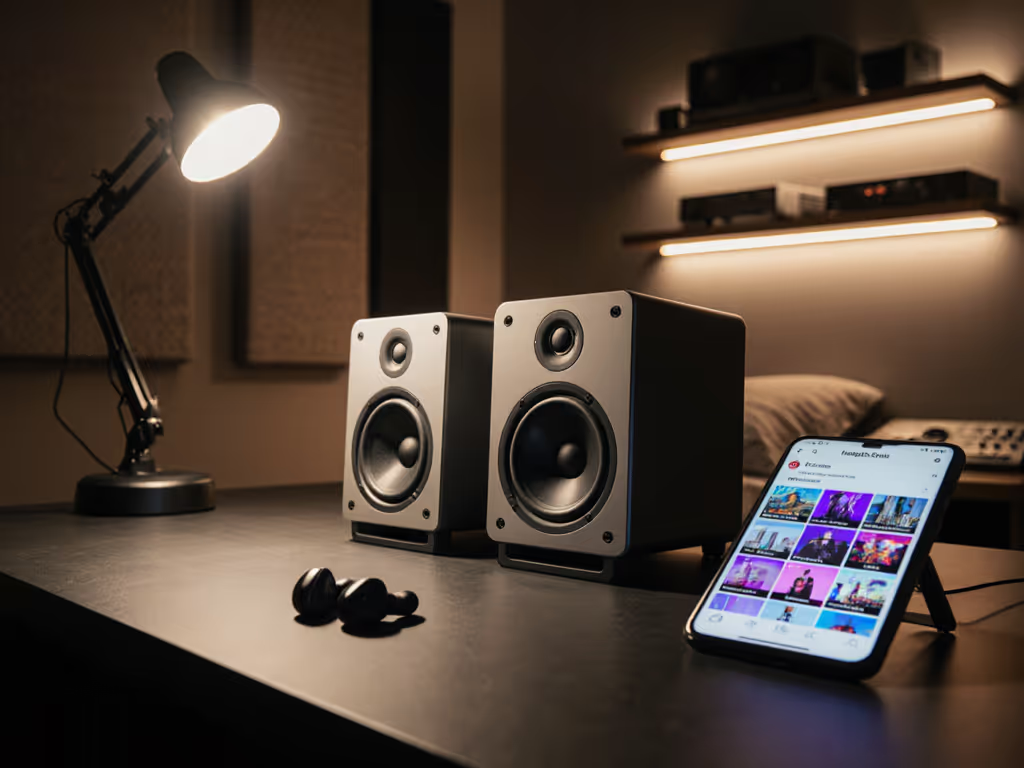
3. Choose Monitors Built for Nearfield, Honest Bass, and Low-SPL Clarity
The best short-form video audio monitoring setup prioritizes three things: forgiving bass, clear midrange, and the ability to work quietly without losing low-end articulation.
Monitors optimized for Reels work rarely exceed 5 inches in woofer size. For a deeper look at how monitor dimensions affect phone and earbud translation, see our monitor size translation guide. Here's why:
- Larger drivers (6-8 inch) require more distance to integrate properly. If your desk is 0.8 meters from your monitors, a large monitor's bass and mids won't blend into a coherent image. You'll hear the woofer and tweeter separately, which sounds impressive but won't help you understand how your Reels will actually play back through phone drivers that are already spatially separated.
- Smaller nearfield monitors (3-5 inch) integrate faster and let you sit closer. This proximity mirrors the acoustic intimacy of phone listening. You hear what a small driver reproduces, which is closer to your audience's reality.
- Front-ported designs offer more flexibility in small rooms. If you're working at a desk pushed near a wall (as most Reels creators are), rear ports couple with the wall and muddy the bass. Front ports are more forgiving and let you place monitors slightly closer to boundaries without dramatic coloration.
Key Monitor Characteristics to Prioritize
- Flat or slightly warm bass response below 200 Hz. You want to hear whether your kick is present and defined or turning into rumble. A monitor that hides bass problems is your enemy.
- Transparent midrange (500 Hz to 2 kHz). This is where dialogue intelligibility lives. If a monitor colors this range, you won't notice when your voice-over gets buried or overly compressed.
- Controlled highs with minimal resonance peaks. Reels playback often boosts presence, so a monitor with a flat or slightly recessed treble helps you avoid over-brightening.
- Ability to deliver clean, articulate bass at 70-75 dB SPL. You're monitoring at quiet levels to respect neighbors and ears. A monitor that becomes boomy or loses definition below 80 dB SPL isn't fit for purpose.
4. Test Audio Compression Handling: The Reels-Specific Challenge
Social media audio compression testing is the step most creators skip. Instagram's audio processing applies dynamic EQ, bit-rate reduction, and normalization that change how your carefully crafted mix arrives in the listener's ear.
To stress-test your monitoring setup for compression resilience:
- Use a compression plugin that mimics Instagram's audio chain. A moderate dynamic EQ preset (boosting 2-4 kHz slightly, pulling back 100-200 Hz) combined with moderate bit-rate reduction (128 kbps MP3-equivalent) simulates Reels playback stress.
- A/B your uncompressed mix against the compressed version on your monitors. If your monitors aren't resolving the differences clearly, you won't be able to compensate during mixing. You'll keep chasing a moving target.
- Check whether your monitor's bass tightens or loosens under compression stress. Some monitors sound great with uncompressed audio but lose articulation when compression tightens the low end. This is a red flag for Reels work.
If your current setup doesn't let you hear these compression artifacts clearly, you need a monitor that does.
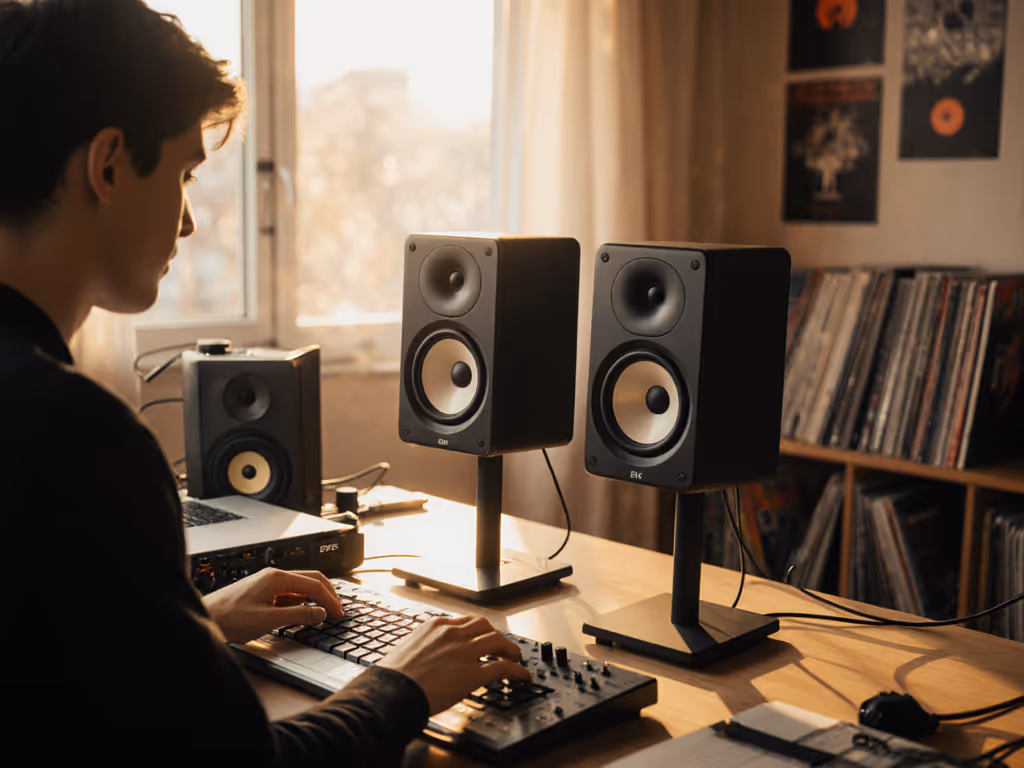
5. Implement a Placement and Isolation Routine Built for Desk Creators
Monitors are only as honest as their environment allows. Even great speakers placed carelessly will lie to you.
Placement beats specs every time.
For Reels-specific monitoring solutions in small rooms, follow this order:
- Position monitors at ear level, angled 15-30 degrees toward your ears. For step-by-step positioning that minimizes desk reflections and nails ear-height alignment, use our monitor height and placement guide. If monitors are below or above your listening position, bass and treble phase won't align at your head, and you'll misjudge the balance. Ear-level puts you in the optimal zone of both drivers simultaneously.
- Keep monitors at least 0.8 meters from your ears and equidistant from the listening position. This distance lets the drivers blend before reaching you, creating a coherent image that mirrors small-speaker listening.
- Isolate monitors from your desk using decoupling pads or stands. Desk vibration couples energy into the structure, exaggerating bass and smearing mids. Even cheap isolation pads (or foam under the speaker feet) reduce this coupling and reveal the monitor's true character. I watched creators go from blaming their monitors to trusting them once isolation removed desk reflections.
- Keep monitors away from walls and corners. Bass modes accumulate in room boundaries. Even 0.5 meters of clearance significantly reduces boomy coloration in the 40-80 Hz range (critical for Reels where bass clarity matters).
- Angle monitors to minimize early reflections off your desk surface. A slightly steep downward tilt (5-10 degrees below ear level) sends the direct sound to your ears and reflections to the desk, where they arrive slightly delayed and softer. This creates a wider, more stable sweet spot.
These steps cost nothing and take 15 minutes to implement. Most creators never try them because they're waiting for the "right" gear. Set it right once; spend your energy finishing content.
6. Add a Subwoofer Carefully - or Skip It for Reels
Reels rarely benefit from subwoofer integration. Here's why:
- Dialogue lives in the 100-400 Hz range. A subwoofer handles frequencies below 80-100 Hz, which is where Reels audio rarely goes.
- Subwoofers require precise phase alignment and crossover calibration. In a small, untreated room, even a perfectly tuned sub will cause phase cancellation or mode coupling that muddies the mix. The complexity rarely pays off for short-form content.
- Apartment constraints and neighbor goodwill matter. Low-frequency energy travels through walls. A sub might solve your monitoring but create social friction.
If you're monitoring for music production alongside Reels, a subwoofer may make sense, but integrate it using a phase test (compare subwoofer engaged vs. bypassed at your listening position). If the low end becomes muddier with the sub on, the phase is wrong, and you need to flip polarity or adjust crossover frequency.
For Reels-only work, skip the subwoofer and invest in placement and isolation instead.
7. Use Room Correction Plugins Selectively and Test for Side Effects
DSP and room correction tools (e.g., Sonarworks, built-in monitor DSP) can help, but they're not magic, and they introduce risk.
When room correction helps:
- You have a measured frequency response showing a problematic room mode (e.g., an 8 dB peak at 125 Hz).
- Correction targets that single problem without broad-spectrum coloration.
- You test the corrected monitoring against your phone/earbud reference and confirm that mixes now translate better.
When it backfires:
- You apply a generic "small room" preset without understanding your room's actual modes. Correction then fights multiple problems simultaneously, introducing phase weirdness and latency.
- Latency from digital correction (typically 5-15 ms) creates a subtle delay between direct speaker sound and corrected processing, degrading imaging.
- Correction is so aggressive that mixes sound small and lifeless through corrected monitoring but thin on phone playback. You've swung the problem in the opposite direction.
Safe approach: Only use room correction if you've measured your room (via REW or similar), identified a specific problem, and tested playback on your phone before and after to confirm improvement. If you're unsure, skip it and rely on placement instead. No measurement mic? Start with smartphone calibration apps to get in the ballpark before committing to full-room correction.
8. Develop a Translation Testing Checklist for Every Project
Avoid revision loops by testing translation at three checkpoints:
- Rough mix checkpoint (vocals/dialogue locked, rough EQ applied). Export a 30-second sample, listen on your phone, and make a note of any obvious EQ or balance issues. Fix them before investing time in details.
- Final mix checkpoint (all EQ, compression, effects applied). Export your final mix, let it sit for a few hours, then listen on phone and earbuds. Does dialogue cut through? Does music sit naturally? Are there any surprising harshness or muddiness?
- Post-upload checkpoint (after Reels processing). Upload a version to a private Instagram account and listen back. Instagram's normalization and compression will differ slightly from your export, but you'll catch any remaining problems before publishing.
Each checkpoint takes 5-10 minutes and prevents the multi-revision nightmare where a mix sounds great in your room but doesn't hold up on playback.
9. Build a Reference Library of Reels You Admire
None of this matters if you don't have a target. Before you finalize your monitor setup and workflow, listen to 10-15 Reels in your content category that you think sound exceptional.
For each reference Reel:
- Listen on your phone at normal volume (50-70%).
- Notice how dialogue sits in the mix, whether background music supports without overwhelming, and how effects (reverb, delay, compression) enhance without cluttering.
- Export or screen-record audio from the Reel, play it on your monitors, and identify the EQ and dynamic choices that created that effect.
- Use those Reels as ear-training references. When your mix starts to feel off, A/B it against a reference to recalibrate.
This is the cheapest and most effective form of monitoring validation. You're teaching your ears what "right" sounds like for your specific content.
10. Commit to a Stable Setup and Protect It
The creators who finish more and revise less aren't using the most expensive monitors, they're using the same reliable monitors every session without second-guessing.
Once you've chosen a social media content creator monitor setup that passes your translation tests, protect it:
- Keep placement consistent. Mark monitor and chair positions with tape if needed. Small movements change the image more than you'd think, and inconsistency breeds doubt.
- Use the same reference device (phone, earbuds) for every test. Your iPhone speaker and an Android phone sound different. Pick one and stick with it.
- Don't chase upgrades. If mixes are translating well, resist the urge to swap monitors "just to try." The cost of learning a new monitor's character is revision time you can't afford.
- Document your settings. If your monitors have EQ, room correction, or trim knobs, write down the positions. If you ever need to troubleshoot, you'll know what you changed.
Confidence comes from a stable monitoring routine, not chasing specs or hype. The best setup is the one you've tested, trust, and use consistently.
Your Next Steps: Start Small, Finish More
- Run the translation test protocol (step 2) on your current setup this week. Listen on your phone and earbuds without changes. Document what you hear.
- Implement placement and isolation (step 5) if you haven't already. Spend 15 minutes moving monitors, adjusting angle, and adding isolation. Re-test translation.
- If translation issues persist after placement optimization, research monitors built for nearfield and quiet listening. Use your translation test as the selection criteria, not specs or reviews. When you're ready to pick a pair, check our mobile translation monitor picks vetted specifically for phone-first content.
- Build a reference library and use it for every project. This trains your ears and reduces guesswork.
- Document your final setup, placement, settings, reference devices, and treat it as your standard. Consistency beats perfection.
The goal isn't a trophy monitor setup or impressive specifications. It's a reliable, honest listening environment that earns you trust in your mixes and saves you revision loops. When your monitoring translates, you finish faster, your audience hears what you intended, and you're free to focus on creativity instead of gear anxiety.
Start small, finish more, and let your monitors be the tool that makes it possible.
Related Articles