Boundary Compensation vs. Standard Monitors: Desk Accuracy
By Mateo Sørensen • 24th Apr
Your desk is not a concert hall. Yet most monitor comparisons ignore the reality of compact rooms, where walls live inches from your speakers and bass collapses or bloats unpredictably. Boundary compensation comparison and desk placement monitor accuracy are no longer luxury concerns, and they are foundational to trusting your mixes on laptop speakers, car systems, and earbuds. This guide cuts through the hype and shows you how each approach behaves in the untreated box you call home, and which one aligns with your space and listening habits.
Why Boundaries Matter More Than You Think
When a speaker sits close to a wall or corner, something physical happens: the boundary reflects low frequencies and interferes with the speaker's direct sound. Depending on distance and frequency, you get a boost (constructive interference) or a dip (destructive interference). A kick drum at 60 Hz sounds full and punchy; shift the speaker six inches and it vanishes. This is not a mix problem (it is a monitoring problem), and it feeds endless revision loops.
Most bedroom creators accept this as normal. Most monitors are designed for mid-room placement, 3-5 feet from boundaries. But your desk is not mid-room. Your speakers are often 6-18 inches from a wall, under a shelf, or in a corner. The result: uninformed low-end decisions and mixes that crumble when played anywhere else. Start with our placement and room treatment essentials to control boundaries before choosing features.
Boundary compensation is a deliberate design choice (a network of filters built into certain monitors to predict and counteract this boundary effect). Standard monitors have no such logic; they sound flat in free space and muddy near walls. Understanding the difference matters because each choice demands a different setup ritual and carries different trade-offs.
What Boundary Compensation Actually Does
Boundary compensation is not magic; it is applied physics. A monitor with boundary compensation includes a switch or preset that reduces bass levels (typically 4-6 dB around 100 Hz in a gentle slope) to account for the energy that will be added once the speaker couples to a nearby wall. Think of it as a built-in apology: "I know you're going to put me against a wall, so I'm backing off the bass now so you hear flat."
This approach works best when three conditions align:
- Solid, rigid wall behind the speaker (drywall, concrete). Hollow walls, glass, or bass traps absorb and transmit energy unpredictably, so the compensation math breaks down.
- Consistent placement distance (typically 6-12 inches). Boundary compensation assumes a known boundary; move the speaker 2 feet away and now you've removed too much bass.
- Acceptance of trade-offs at other listening positions. Boundary compensation is optimized for a narrow sweet spot. Step off-axis or stand up, and the response shifts.
When done well, boundary compensation increases perceived low-frequency headroom by up to 6 dB and creates a more directional bass response that matches the monitor's midrange directivity. In tight spaces, this alignment reduces the smear and collapse you feel when you lean forward or back in your chair.
How Standard Monitors Behave Near Walls
Standard monitors assume free-field listening (infinite space, no reflections). Their baffle step compensation (a gentle lift in the midbass) and woofer design are tuned for that assumption. Place them near a wall, and two things happen:
First, you lose baffle step benefits. Baffle step compensation is designed to maintain level when the speaker radiates into a full sphere (far from boundaries). Near a wall, sound travels only into a hemisphere, so the low-end boost from the boundary adds on top of a baffle step that is now unnecessary. Result: bloated, uncontrolled bass.
Second, boundary interference creates comb filtering. The time delay between direct and reflected sound generates peaks and dips that shift with frequency and distance. At 100 Hz, you might hear a 4 dB peak; at 120 Hz, a 3 dB dip. Your ear cannot distinguish the monitor from the room, so you make EQ decisions based on illusion, not truth.
You can fight back with room EQ (a parametric equalizer in your DAW or a hardware unit like Sonarworks), but that is reactive correction, not design intent. And it risks phase weirdness, latency, or over-correction that collapses when you step away from the desk.
Boundary Compensation: When It Wins
Tight desks where movement is minimal. If your listening position is fixed (you sit, you mix, you do not stand or wander), and your speakers are permanently 8-12 inches from the same wall, boundary compensation removes guesswork. No PEQ twiddling, no second-guessing. You set it, measure it once, trust it for months.
Studios where corner loading is intentional. Some mixing engineers use corner placement deliberately to increase low-frequency headroom for EDM, hip-hop, or bass-heavy genres. Boundary compensation lets you use that coupling without the tonal chaos. You get the SPL gain and the clarity.
Situations where DSP latency is a concern. If you’re considering DSP-based alternatives, our room-corrected monitors comparison explains benefits and trade-offs. If you are tracking live instruments or podcasting while monitoring, every millisecond of plugin delay matters. Boundary compensation is analog; no latency, no phase shift, no thinking required.
Rooms where treatment is not an option. Rented apartments, shared studios, bedrooms (if you cannot move or absorb the wall), accepting boundary coupling and compensating for it is faster than fighting it.
Standard Monitors: When They Still Win
Do not dismiss standard monitors. They hold advantages in real-world use:
Flexibility across multiple rooms and placements. Standard monitors tolerate (within limits) mic stands, shelves, and mid-room positioning. You can rotate them into a new apartment, place them on stands 3 feet from the wall, or demo them on a friend's desk. Boundary compensation assumes a fixed setup; move it and the tuning falls apart.
Off-axis listening is more stable. Because standard monitors are not optimized for a boundary-coupled sweet spot, they degrade more gracefully as you lean, stand, or let a second person sit to your left. Boundary-compensated monitors prioritize on-axis and can sound thin or bright elsewhere.
Easier integration with subwoofers. If you plan to add a sub later, standard monitors give you a cleaner handoff. Boundary-compensated monitors already assume bass is handled by the wall; adding a sub on top can muddy the plan.
Proven translation in mid-room or untreated spaces. Most rooms are not tightly coupled to walls. If you have even 2-3 feet of breathing room, standard monitors with careful placement (stands, toe-in, height) often outperform boundary-compensated designs because they were designed for that scenario.
The Real Test: Quiet Work That Translates
Here is what nobody talks about: boundary compensation does not matter if you monitor at unsafe levels. Learn safe reference volumes and calibration methods in our studio monitor safe levels guide. A speaker tuned for 85 dB SPL near a wall sounds entirely different at 65 dB. Low frequencies compress; stereo imaging flattens; your ear's sensitivity to tonal balance drops. Both approaches fail if you are chasing clarity at whisper levels or if you are cranking to impress.
I learned this the hard way. Early in my career, I chased hype: always louder, always looking for more bass impact to feel the mix. My ears burned out, and I stopped trusting my judgment by midday. A mentor forced me into a month of quiet mixing: 70 dB SPL max, careful speaker placement, and a stopwatch to enforce breaks. My client feedback halved. Fewer revisions, fewer arguments, faster approvals. I realized that quiet work that translates beats loud work that impresses. Boundary compensation or standard monitors, the principle holds: consistency at a safe, sustainable level reveals truth faster than sporadic loud sessions.
This means your choice between boundary compensation and standard monitors is inseparable from how you listen. If you work at 68-75 dB SPL with a 10 minute break every 90 minutes, both approaches can work. If you alternate between loud checks and whisper-level work, standard monitors in a well-treated mid-room position often fare better because their design does not penalize compromise.
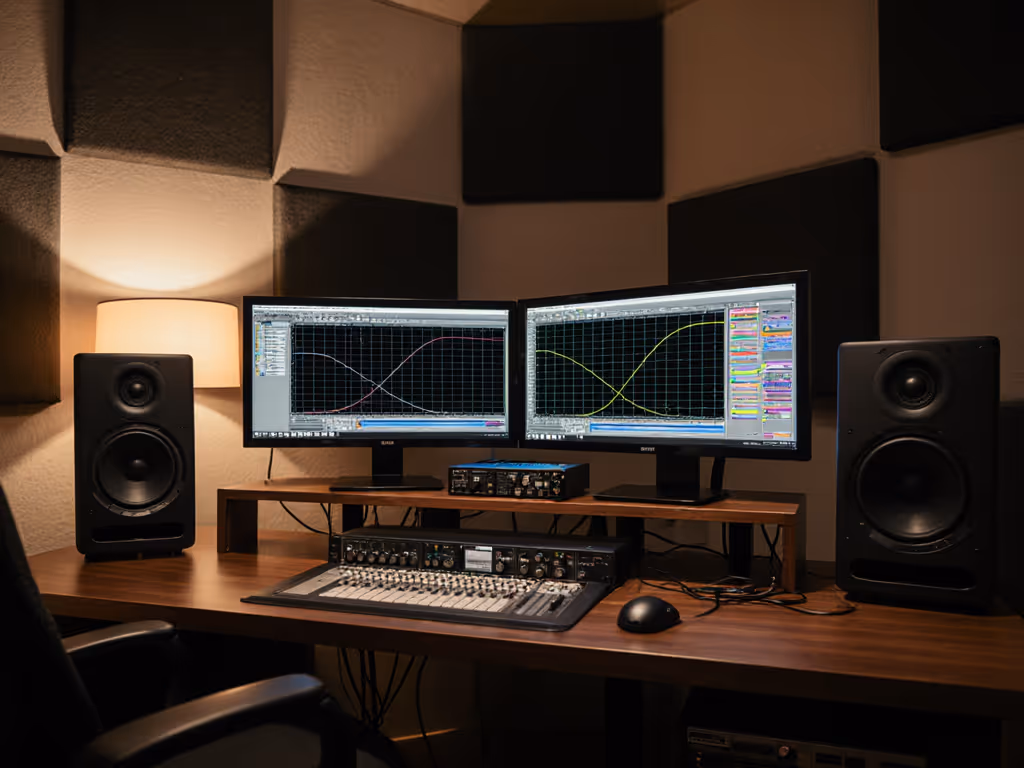
Practical Setup: Placement, SPL Targets, and Measurement
Step 1: Choose your anchor distance.
If using boundary-compensated monitors, measure the distance from the speaker's rear panel to the wall. Record it. Mark the speaker position with tape. This distance is your contract; if it drifts, so does your tone.
If using standard monitors, aim for 24-36 inches from the wall behind the speakers. This gives you the benefit of mild boundary coupling (mild bass lift, useful for small rooms) without comb filtering chaos. If desk space forbids this, use stands to angle the speakers forward, away from the rear wall.
Step 2: Set your SPL baseline.
Use a sound meter app on your phone or a hardware meter (Behringer UCA202 + free software is budget-friendly). Sit in your listening position. Play a pink noise track at nominal mix level (a level you typically monitor at). Measure the SPL. Write it down. Aim for 70-75 dB. This is your anchor. At this level, both boundary-compensated and standard monitors reveal truth without fatigue.
Now set a timer for 90 minutes of focused work, then step away for 5-10 minutes. This habit protects your ears and resets your perception. When you return, your ears will hear mixes with fresh perspective.
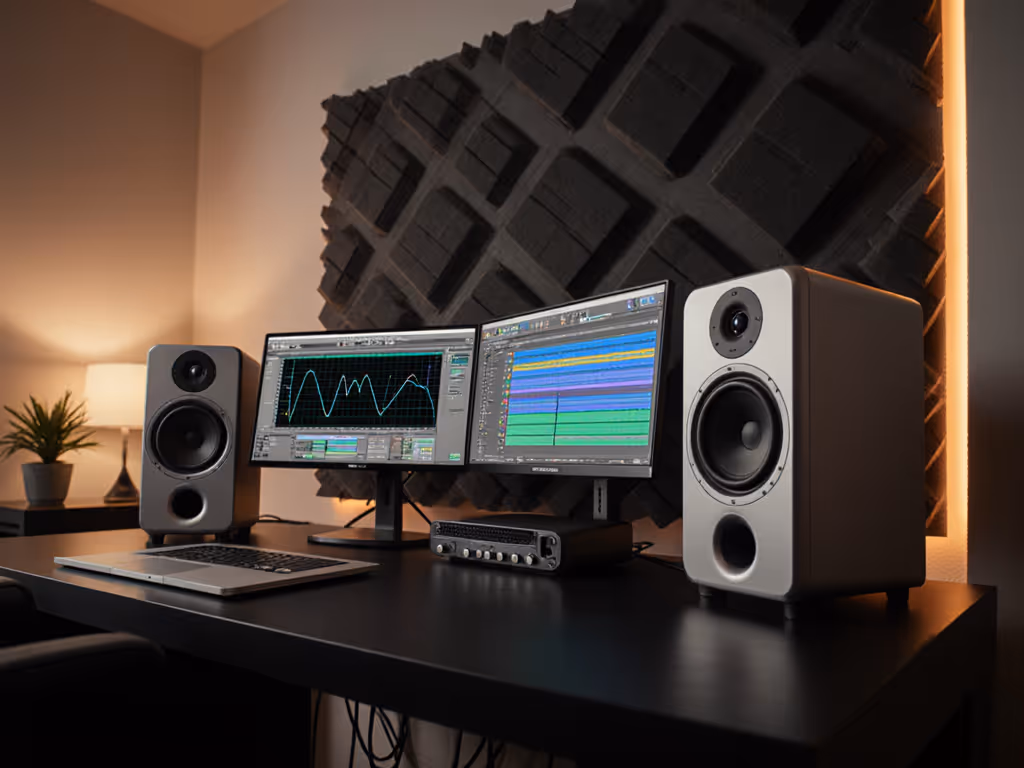
Step 3: Take a reference spectrum measurement.
If you use Sonarworks or a similar correction tool, measure the in-room response at your listening position with boundary-compensated or standard monitors in place. Do not over-correct. A gentle smooth of ±4 dB across 80-250 Hz is enough. More than that introduces phase weirdness and kills the monitor's original intent.
Step 4: Verify translation with a test mix.
Mix a short passage (30 seconds) on your monitors. Export it. Listen on earbuds, a laptop speaker, and a car system. Do the low-end, mids, and highs hold? If the mix sounds thin on earbuds or boomy in the car, your boundary compensation or placement is lying to you. Tweak placement or turn off boundary mode (if the monitor has a switch) and re-measure. One change at a time.
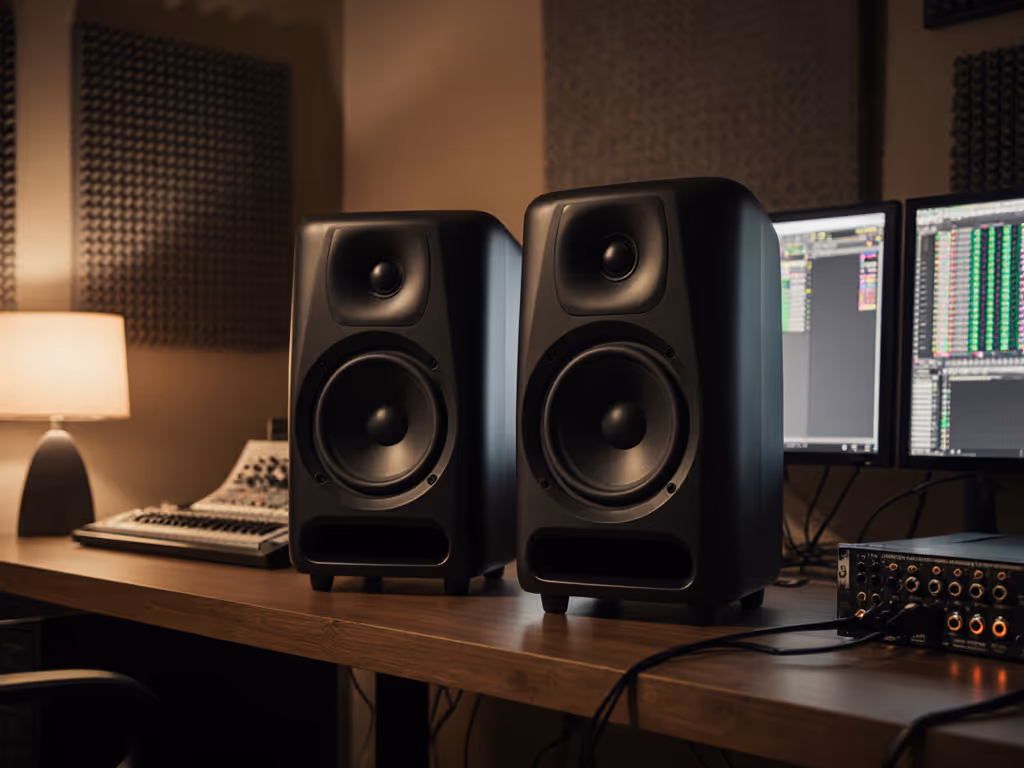
Isolation and Toe-In: The Invisible Half
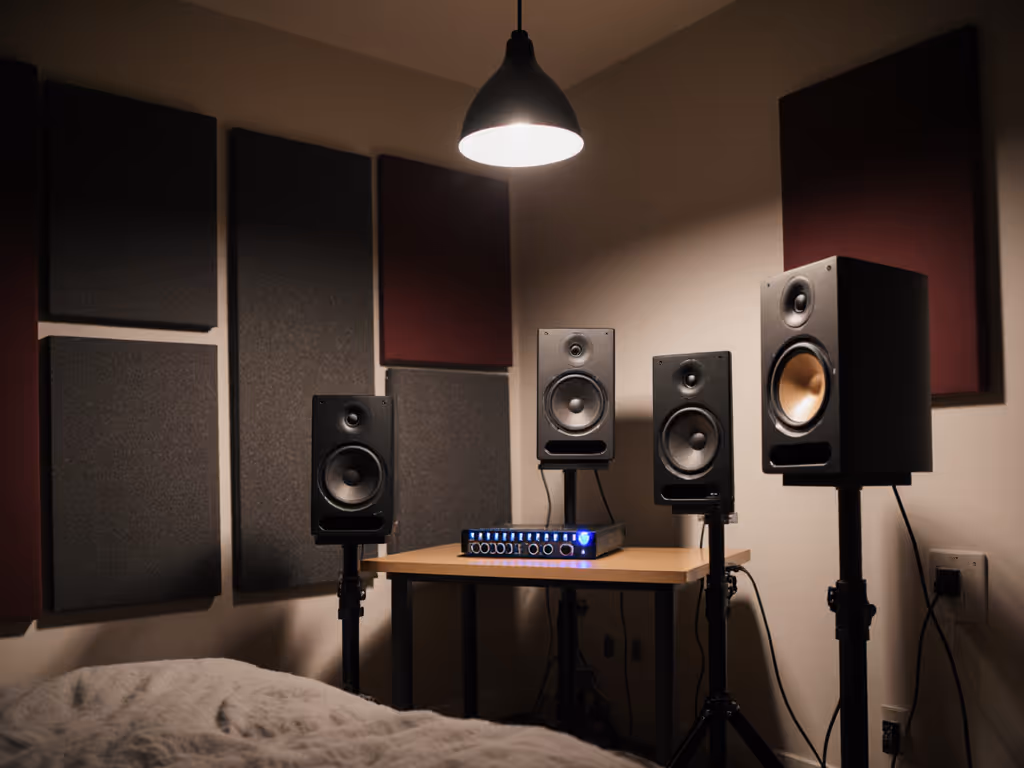
Placement alone is half the story. Desk reflections smear the image and collapse the sweet spot. Even with boundary compensation, if your monitor is sitting directly on a reflective desk, you are hearing mixed direct and desk-reflected sound (not the monitor's intent).
Use monitor stands or isolation pads. For exact heights and angles that minimize desk reflections, read our monitor height and desk reflections guide. A 4-6 inch isolation stand decouples the speaker from the desk and angles it 15-20° toward ear level. Do not underestimate this step; the difference is audible in minutes. Your stereo image tightens, and the sweet spot widens. Cost: $40-100 per pair.
Toe-in matters. Angle the speakers so the tweeters point 15-20° inward, toward the center of your head at listening position. This reduces off-axis comb filtering from nearby walls and improves stereo cohesion. With boundary-compensated monitors, do not toe-in too aggressively; you risk tilting them away from the boundary wall and breaking the compensation math.
Quick Decision Checklist
Use this to decide which approach suits your space:
Choose boundary compensation if:
- Your desk is < 12 inches from a solid wall and that position is fixed.
- You monitor consistently at 70-75 dB SPL with minimal movement.
- Your room has hard surfaces (drywall, concrete) and no bass traps.
- You want "set it and forget it" without DSP or measurement tools.
- You work with low-end-heavy genres (EDM, hip-hop, bass music).
Choose standard monitors if:
- You have > 24 inches of space behind the speakers or can use stands to move them forward.
- Your listening position varies (standing, sitting at different heights, moving around the room).
- Your room is treated or has mixed boundaries (windows, bass traps, furniture).
- You plan to use a subwoofer later or move the monitors between rooms.
- You value flexibility and off-axis stability over deep boundary coupling.
The Final Word: Measure, Listen, Trust
Boundary compensation and standard monitors are tools, not destinies. The "best" choice is the one that lets you work at a calm, consistent SPL and deliver mixes that translate. Protect your ears by choosing a setup that feels honest at 70 dB, not one that sounds impressive at 85 dB and lies at 65 dB.
Measure your room. Set your anchor SPL. Sit down. Work for 90 minutes. Step away. Come back fresh. Do this for a week before deciding whether boundary compensation or standard monitors is your answer. Your ears and your clients will thank you.
Related Articles