Smart Studio Spending: Monitors vs Room Treatment
By Priya Nandakumar • 11th Nov
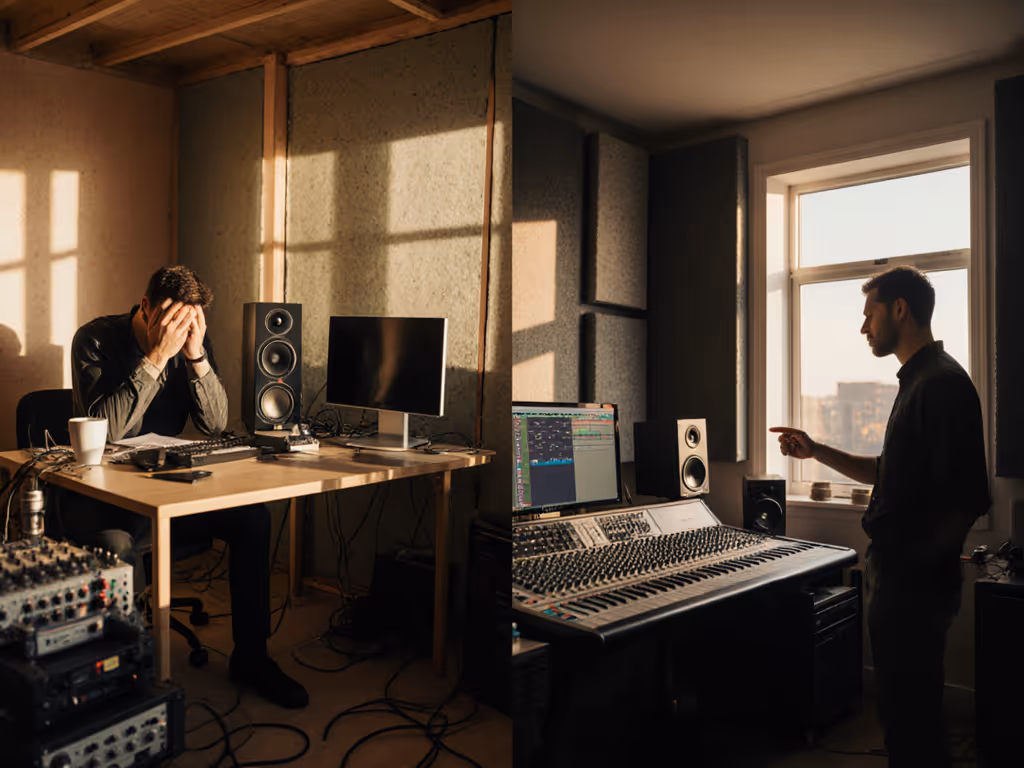
If you're wrestling with the eternal dilemma of studio monitors versus room treatment, you're not alone. Most bedroom producers I consult assume better speakers will solve their translation woes, until they realize their untreated rectangle of drywall is lying to them more than any budget monitor ever could. Let's cut through the marketing haze with numbers, not hype. The truth is simple: your room dictates your monitor's performance ceiling. For a quick primer on treatment basics, see our room treatment essentials. After years of fixing mixes that "sounded perfect" in untreated spaces, I've developed a bulletproof approach to an optimal studio spending ratio that gets you paid faster, not just more gear.
1. The Translation Trap: Why Your Monitors Aren't the Problem
Three years ago, I mixed an EP on loaned "pro" monitors in a shoebox apartment. Clients kept saying the bass was missing on Spotify. Turns out, my room's 52Hz mode was masking low-end, not my speakers. This happens constantly in small rooms. Ignoring room physics in home studio budget planning guarantees revision loops.
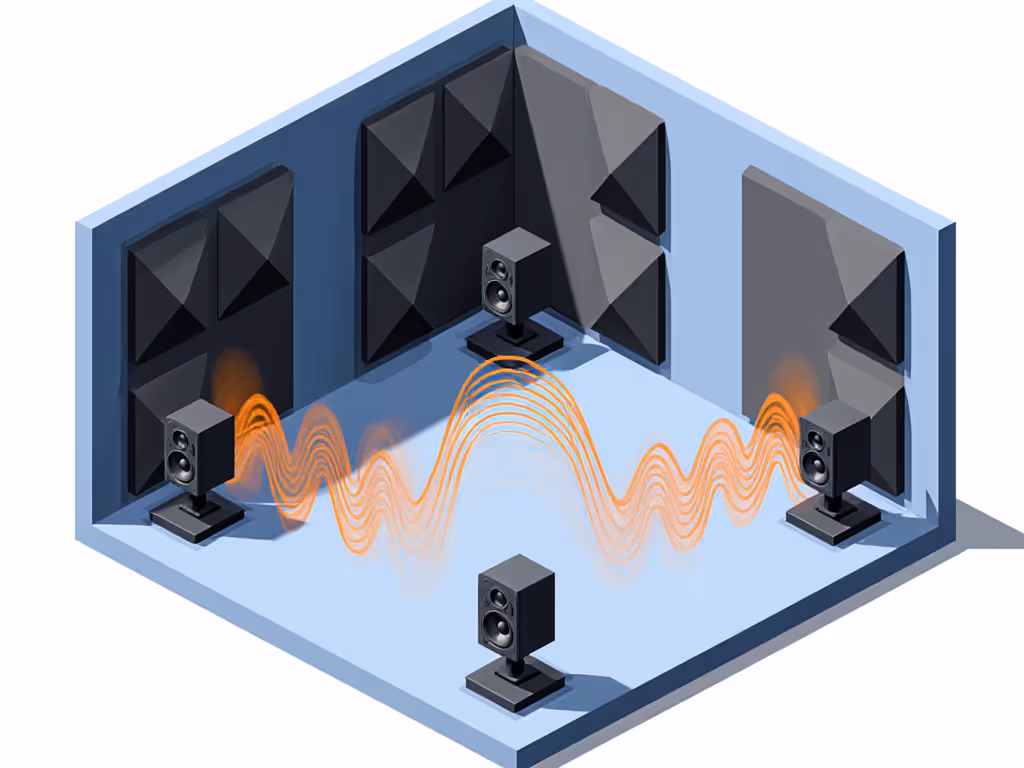
Room acoustics distort more of your signal than monitor quality in spaces under 200 sq ft. At 80-90dB SPL (safe for neighbors), untreated walls cause:
- Up to 12dB peaks/dips in 60-120Hz range (making kick/bass decisions guesswork)
- Smearing of transients due to early reflections
- Collapsed stereo imaging from desk resonances (see our monitor height and desk reflection guide)
Budget math reality: A $500 pair of monitors in a dead room beats $1,500 speakers in a reflective box. Spend once, translate forever, save the budget for microphones.
2. Your Room's True Cost of Entry
Let's calculate the acoustic treatment value for a typical 10x12 ft bedroom studio:
| Component | Bare Minimum | Mid-Tier | Pro-Grade |
|---|---|---|---|
| Bass Traps | $150 (4 corners) | $300 (8 panels) | $600+ (tuned membranes) |
| First Reflection Panels | $100 (2 pairs) | $200 (4 pairs) | $400 (broadband) |
| Monitor Isolation | $30 (foam pads) | $80 (sorbothane) | $150 (iso stands) |
| Total | $280 | $580 | $1,150 |
Here's the uncomfortable truth: skipping treatment means you'll "calibrate" your ears to room-induced errors. Then your mixes fail on earbuds and car systems, costing you $200+ per revision in lost time and client trust.
3. The 60/40 Rule That Actually Works
Forget "50/50" splits you see online. My monitor investment strategy for 100+ clients:
- 60% of your acoustic budget → Baseline treatment (bass traps + reflection panels)
- 40% → Monitors (after treatment is installed)
Why? Because:
- Treatment raises ALL monitors' performance (new or used)
- You'll hear frequencies previously masked by room modes
- Monitor selection becomes data-driven (not guesswork) For help interpreting specs post-treatment, use our studio monitor specs that matter guide.
When I follow this rule, clients reduce reference checks by 70%. One electronic producer stopped using his car to check bass after adding only 4 bass traps (saving 4+ hours weekly).
4. Budget-Friendly Treatment That Doesn't Waste Space
You don't need foam pyramids. My compact-room formula:
Phase 1: Bass Control ($150-300)
- 2x 4" thick rockwool panels (24x48") in front corners ($80)
- 2x DIY corner bass traps from recycled denim ($40)
- Avoid: Panels thinner than 3" are useless below 100Hz
Phase 2: Reflection Management ($100)
- 2x 2" rockwool panels on side walls at monitor height ($60)
- Closet doors or heavy blankets as temporary diffusers ($40)
Phase 3: Monitor Isolation ($30-80)
- Skip stands if space is tight, use dense isolation pads
- Critical: Angle monitors inward ("toe-in") to reduce side-wall reflections
5. Monitor Picks That Deliver Under $300
Only after treatment should you shop monitors. If you're shopping on a tight budget, start with our tested budget studio monitors under $200. Look for:
- Flat frequency response (±3dB from 60Hz-18kHz)
- Low distortion at 85dB (critical for quiet monitoring)
- Repairable drivers (check warranty terms!)
Best entry-tier pair: PreSonus Eris E4.5
The Eris E4.5 delivers shocking accuracy for $158/pair. I've seen them hold up in 8x10 ft rooms with basic treatment. Key wins:
- 4.5" woven woofer handles 60Hz cleanly (rare at this price)
- Silk dome tweeter avoids ear fatigue during 8-hour sessions
- Front-panel EQ dials help compensate for desk placement

PreSonus Eris E4.5 Studio Monitors
Accurate, balanced studio sound for creators in compact home environments.
$157.99
Amplification50W Class AB (25W/speaker)
Amplification50W Class AB (25W/speaker)
Pros
Fine-tune response with high/low frequency controls.
Compact size fits small spaces and under monitors.
Includes Studio One Prime and Studio Magic software.
Cons
Mixed feedback on loudness and long-term reliability.
Rear-firing port less ideal for close-boundary placement.
Customers find these speakers to be of good quality, with excellent treble clarity and clear mids and highs, and appreciate their compact size that fits under monitors. The sound quality is positive, and customers consider them good value for money.
Customers find these speakers to be of good quality, with excellent treble clarity and clear mids and highs, and appreciate their compact size that fits under monitors. The sound quality is positive, and customers consider them good value for money.
Used-market sleeper: KRK ROKIT 5 G4
When KRK's G4s hit the used market, I snapped up two pairs. Why pros still use them:
- Kevlar drivers resist distortion when pushed
- Onboard DSP compensates for boundary placement (huge for desks)
- Repair kit included, saves $120+ vs. typical warranty repairs
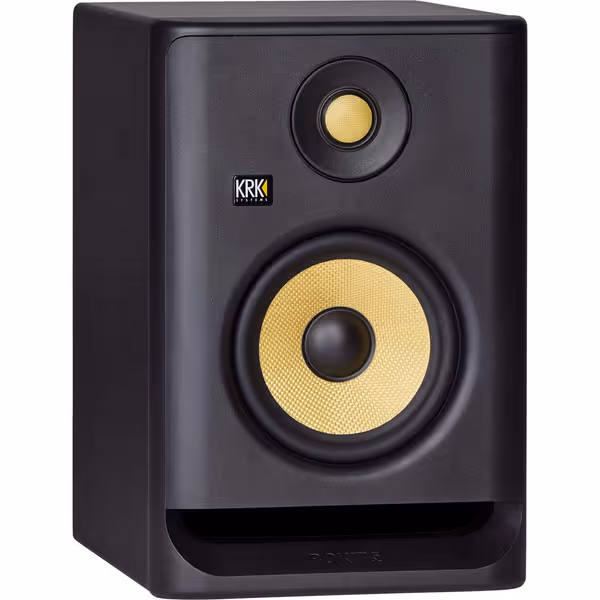
KRK RP5 Rokit G4 Studio Monitor
Accurate sound for home studios with versatile adjustments.
$194
Woofer Size5-inch
Woofer Size5-inch
Pros
Excellent, clear sound for accurate mixing.
Durable build quality offers great value.
Onboard DSP EQ for room optimization.
Cons
Size might be unideal for some setups.
Mixed opinions on connectivity options.
These monitors deliver excellent sound quality, particularly as home studio monitors, with one customer noting their crisp trebles.
These monitors deliver excellent sound quality, particularly as home studio monitors, with one customer noting their crisp trebles.
Warranty note: KRK's 1-year warranty covers driver failures, unlike most budget brands. Always check if used units have transferable coverage.
6. Placement Beats Price (Even With Cheap Gear)
I once fixed a pop producer's bass issues by simply moving his $200 M Audio BX5s:
- Pulled them 8" from the wall (reduced port reflections)
- Elevated on books to ear height (fixed floor bounce)
- Added folded towels under stands (killed desk resonance)
Result: His mixes cleared Spotify loudness checks on first submission. Placement beats price applies to any monitor, no upgrade needed.
My 5-Minute Placement Checklist:
- Form equilateral triangle between head and speakers
- Tweeters at ear level (not above/below)
- No direct line to parallel walls
- 1-2 ft from rear wall (avoid boundary boost below 80Hz)
- Subwoofer in "sub crawl" position (not centered)
Skip the fancy stands if you're tight on space, dense isolation pads under monitors cost $30 and solve 80% of vibration issues.
7. When to Break the 60/40 Rule
Exceptions prove the rule:
Increase monitor budget to 50% if:
- You monitor below 75dB SPL (apartment noise constraints)
- Genre relies on ultra-low end (hip-hop, EDM) For genre-tailored options that keep sub-bass honest, see our bass-optimized studio monitors.
- You already have basic treatment installed
Increase treatment to 70% if:
- Room has parallel walls and hard floors
- You hear pronounced "boomy" zones when walking around
- Previous mixes failed on multiple consumer systems
One metal producer I advised flipped to 70/30 after realizing his untreated ceiling caused 3kHz harshness. $200 in cloud panels fixed what $500 speakers couldn't.
The Final Verdict: Stop Choosing Sides
Monitors vs room treatment is a false dilemma. Here's your actionable path:
- Start with $250 minimum treatment (bass corners + side panels)
- Test monitors after treatment is up
- Choose models with repairable drivers and boundary compensation
- Prioritize placement over prestige, my KRKs on bookshelves outperformed loaned Neumanns
The best monitor setup isn't the most expensive one, it's the one that shortens your revision cycles without draining cash. I've shipped records faster by choosing honest monitors and smart placement over brand prestige. Spend once, translate forever isn't just a slogan, it's how I pay my rent.
When your mixes hold up on earbuds and phone speakers without constant reference hopping, you'll understand: the room is always the final boss. Beat it with smart treatment first, then pair it with monitors that deliver truth per dollar. Your clients (and your inbox) will thank you.
Related Articles