Diagnose Monitor Distortion: Fix Your Audio Mixes Fast
By Jae Min Park • 2nd Jan
If your mixes sound off when you play them back on your phone or in the car, monitor distortion diagnosis might be your missing puzzle piece. Many bedroom producers waste hours chasing phantom problems when a simple speaker distortion identification process could save their mix. Let's cut through the noise and pinpoint exactly what's causing your monitors to lie to you. This isn't about fancy gear (it's about understanding what your speakers are actually telling you versus what you think they're saying).
Why Your Monitors Might Be Lying
Distortion isn't just about volume. It can sneak into your monitoring chain in multiple ways, each requiring different solutions. When students in my community workshops bring me "bad mixes," nine times out of ten, the problem isn't their ears (it's what's happening between the DAW and their ears).
Digital clipping tops the list of culprits. When your signal hits 0 dBFS, the waveform gets chopped off, creating harsh artifacts that fool you into thinking your mix is brighter or punchier than it really is. But here's what most beginners miss: distortion can happen at low volumes too. Those subtle harmonic overtones from overdriven plugins or overloaded channels can muddy your low end without triggering any visible clipping indicators.
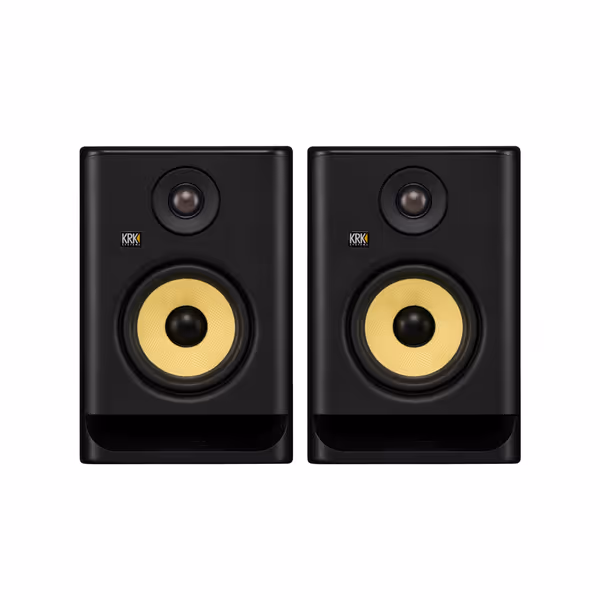
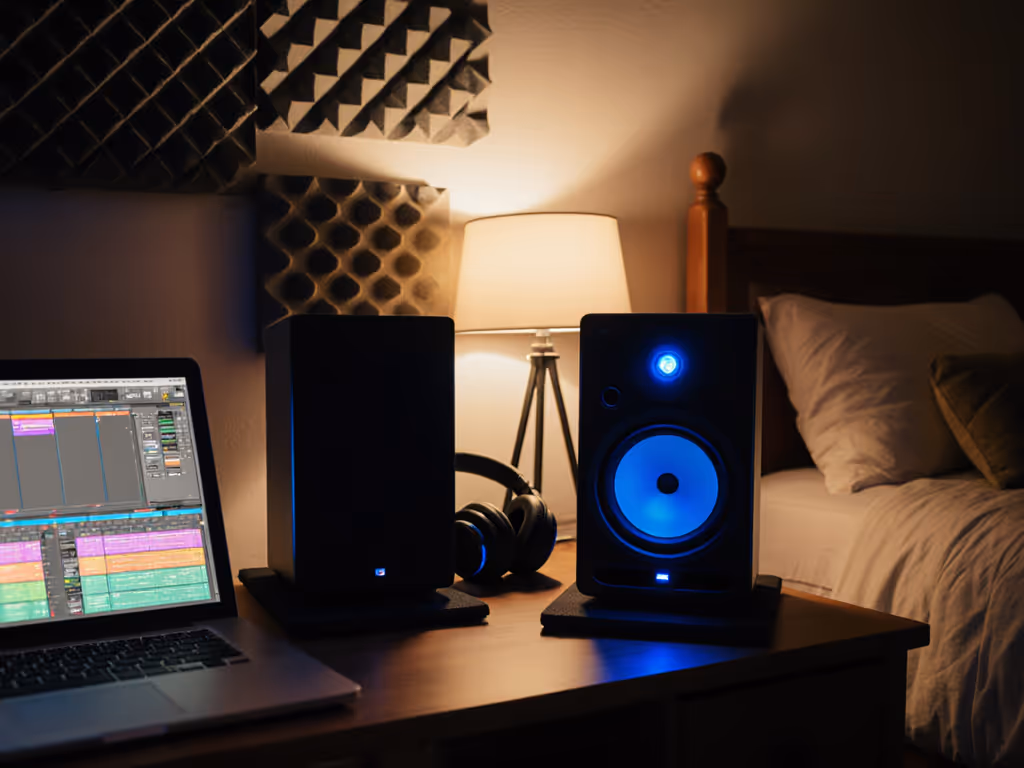
KRK ROKIT 5 G5 Pair
Accurate, balanced mixes with versatile room tuning for compact studios.
$398
Woofer Size5"
Woofer Size5"
Pros
Balanced sound & crystal-clear highs for accurate mixing.
Integrated EQ/room tuning options combat small-room issues.
Compact size delivers powerful performance and fits tight spaces.
Cons
External DSP might be preferred for advanced correction.
Small monitors have physical bass limits at high SPLs.
Customers praise these studio monitors for their balanced sound profile and crystal clear highs, with one customer noting their powerful EQ/room tuning options. They appreciate the build quality, appearance, and value for money, and one customer mentions that the compact size doesn't compromise performance.
Customers praise these studio monitors for their balanced sound profile and crystal clear highs, with one customer noting their powerful EQ/room tuning options. They appreciate the build quality, appearance, and value for money, and one customer mentions that the compact size doesn't compromise performance.
The Sneaky Types of Distortion You're Probably Ignoring
Most producers only check for obvious clipping, but these three distortion types wreck mixes in subtle ways:
- Harmonic distortion: When your monitor adds extra frequencies that weren't in the original signal (common with cheap amplifiers or overloaded drivers)
- Intermodulation distortion: When multiple frequencies interact to create new, unintended frequencies (especially problematic in the 200-500Hz "mud" range)
- Transient distortion: When your speakers can't keep up with fast peaks, making drums sound dull or smeared
Speaker Distortion Identification: A Practical Test
Skip the complicated measurements. Here's the quick test I teach at my workshops that works in any bedroom studio:
- Silence everything: mute all tracks except a sine wave generator
- Start low: set volume to where you can barely hear a 1kHz tone
- Sweep slowly: move through frequencies from 30Hz to 15kHz at this low volume
- Listen carefully: at any frequency where you hear distortion, note the volume where it begins
- Repeat at higher levels: gradually increase volume while sweeping again
Trust the routine: How consistently your monitors perform across frequencies matters more than maximum SPL.
If you hear distortion at low volumes on certain frequencies, your room or placement is likely causing resonances. For foundational setup tips that reduce room-induced distortion, see our room treatment essentials guide. If distortion only appears at high volumes, your speakers may be overdriven. Many bedroom producers push monitors too hard in small spaces (they don't need to be loud to be accurate).
The Real Culprit: Your Room, Not Your Monitors
I watched students struggle for weeks with "bad mixes" until we placed two tennis balls under each speaker and moved their desks away from walls. Suddenly, their mixes traveled perfectly. Most "monitor distortion" is actually room-induced distortion from:
- Desk reflections causing comb filtering
- Wall boundaries boosting certain low frequencies
- Standing waves creating nulls at your listening position
Your Quick Fix Checklist
Stop chasing gear and start fixing what matters. These five steps solve 80% of monitor distortion issues in bedroom studios:
- Check your levels: Keep master bus peaking at -6dB to -3dB (not 0dB!)
- Isolate properly: Use simple isolation pads (even dense yoga blocks work) to decouple from desks
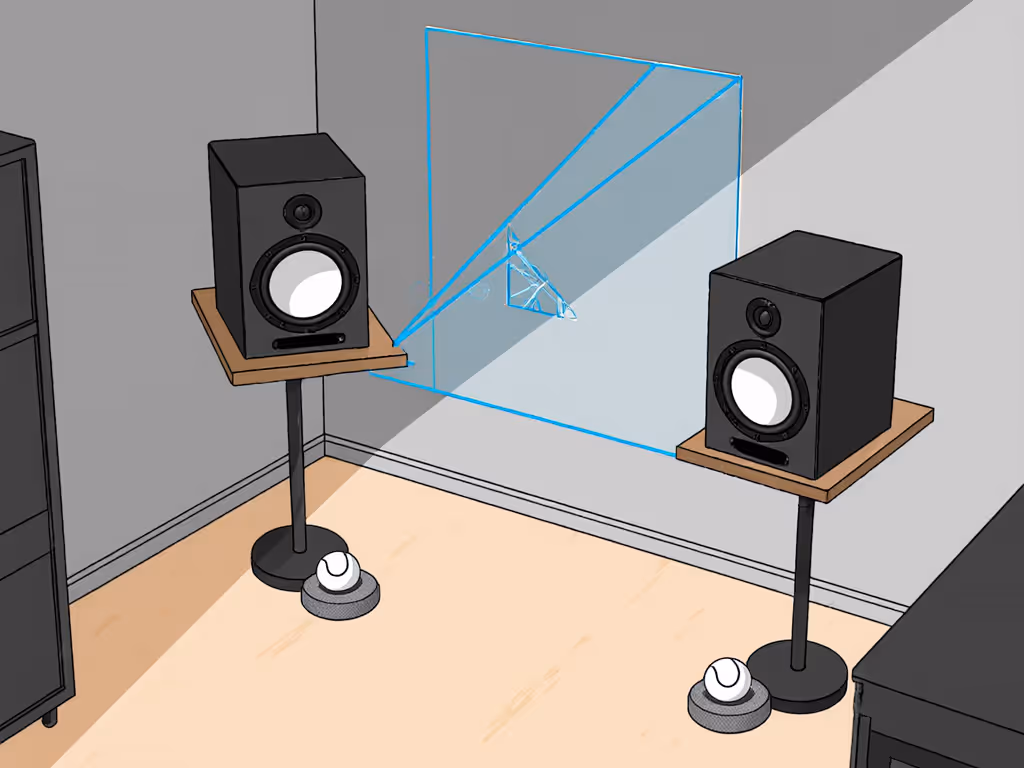
- Distance matters: Position tweeters at ear level, 3-4 feet from your head in a perfect equilateral triangle
- Kill reflections: Place absorbers at first reflection points (side walls, ceiling above desk)
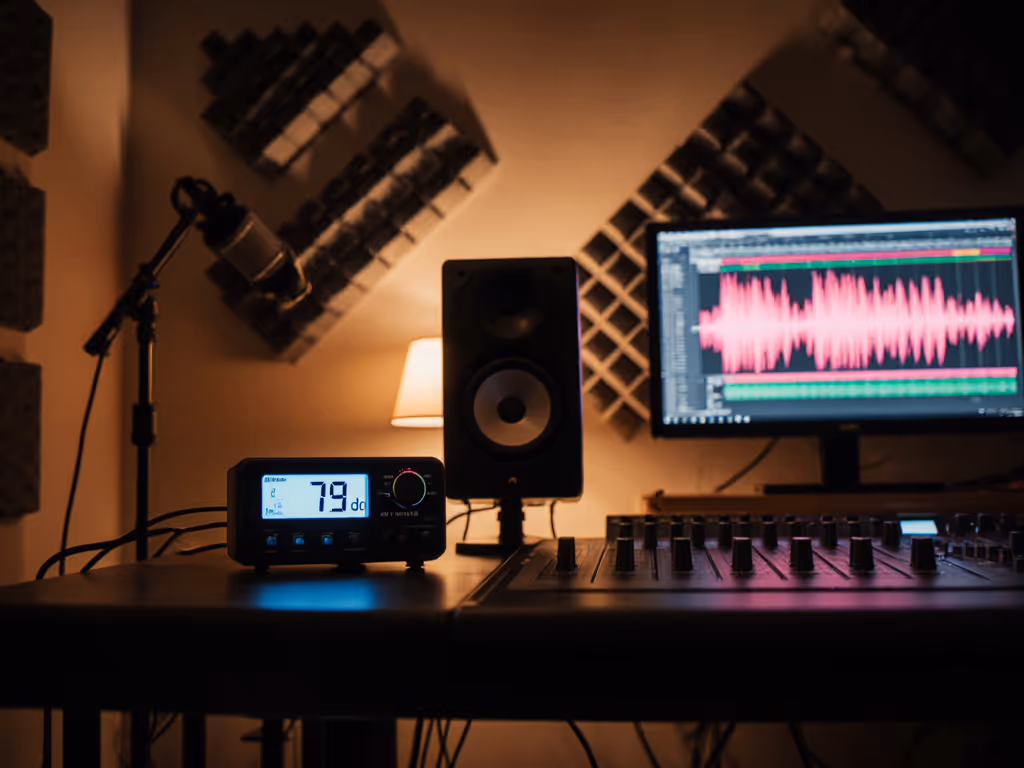
- Test quietly: Most critical mixing happens between 70-75dB SPL (your monitor shouldn't distort here) Learn how to set safe listening levels without sacrificing mix accuracy.
Clipping Prevention Techniques That Actually Work
"Just turn it down" isn't helpful advice when you're trying to gauge loudness. Instead:
- Use a true peak meter on your master bus to catch intersample peaks
- Set gain staging early: record at -18dBFS to -12dBFS for healthy headroom
- Bypass all plugins on your master fader during critical listening
- Check bass separately: solo kick and bass together to catch low-end buildup
When I see students chasing "more bass" in their mixes, it's almost always because their room is masking low frequencies at their listening position. Move your chair just 6 inches and you'll likely hear dramatically different bass response.
When to Suspect Your Gear (Not Your Room)
Most "distortion" is room-related, but occasionally gear fails. Rule these out:
- Test with different content: Play commercial tracks you know well (do they sound distorted?)
- Swap cables: Faulty cables cause surprisingly common distortion issues
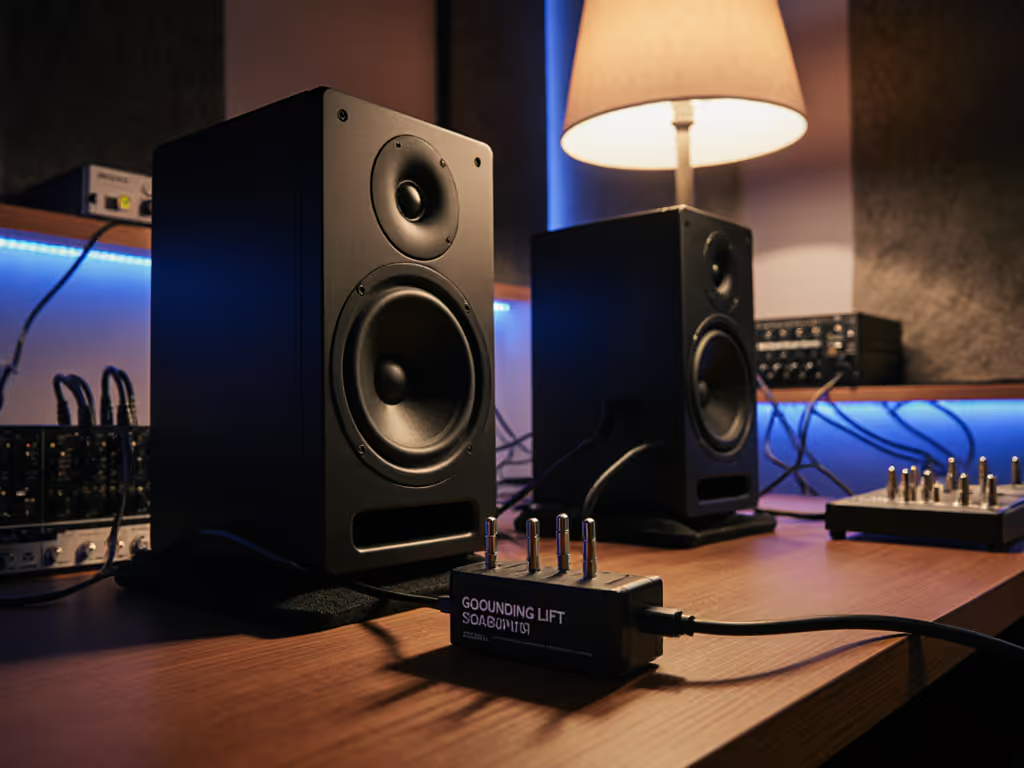
- Bypass interfaces: Connect directly from interface to speakers to test for ground loops
- Check power: Clean power matters (try a different circuit if you hear hum) If power quality is suspect, our dirty power fixes guide walks through practical conditioning options.
Remember those monitors I mentioned earlier? Their built-in DSP helps compensate for common room issues, but no amount of tech fixes bad placement. Start with physical setup before reaching for digital solutions.
Less Tweaking, More Finishing
Confidence comes from a stable monitoring routine, not chasing specs or hype. The producers I work with who ship the most music aren't using the most expensive gear (they've nailed a reliable workflow where they know exactly what their monitors will tell them today versus tomorrow).
Last week, a student sent me a track that sounded distorted on his monitors. We discovered his "mastering limiter" was actually causing intermodulation distortion in the low-mids. He'd been EQing around the problem for days instead of fixing the actual cause.
Your goal isn't distortion-free monitoring (impossible in the real world) but consistent, predictable monitoring. Once you understand how your specific setup distorts, you can mix around its limitations. Set it right once; spend your energy finishing songs.
The Real Fix Is Simpler Than You Think
Stop obsessing over finding "perfect" monitors. Focus instead on creating a consistent monitoring environment where you understand what your speakers are telling you (including their limitations). When you can trust that your setup won't lie about the essentials (bass balance, vocal clarity, stereo width), you'll spend less time second-guessing and more time creating.
Trust the routine: Your best mix tool isn't a plugin (it's knowing exactly what your monitors are telling you).
Diagnose monitor distortion not as a problem to eliminate completely, but as information to interpret correctly. In my workshops, the breakthrough moment always comes when producers stop fighting their room and start working with it. That's when their mixes suddenly translate everywhere (and they finally trust what they're hearing).
Related Articles