Quiet Monitoring Setup for Shared Living
By Mateo Sørensen • 23rd Mar
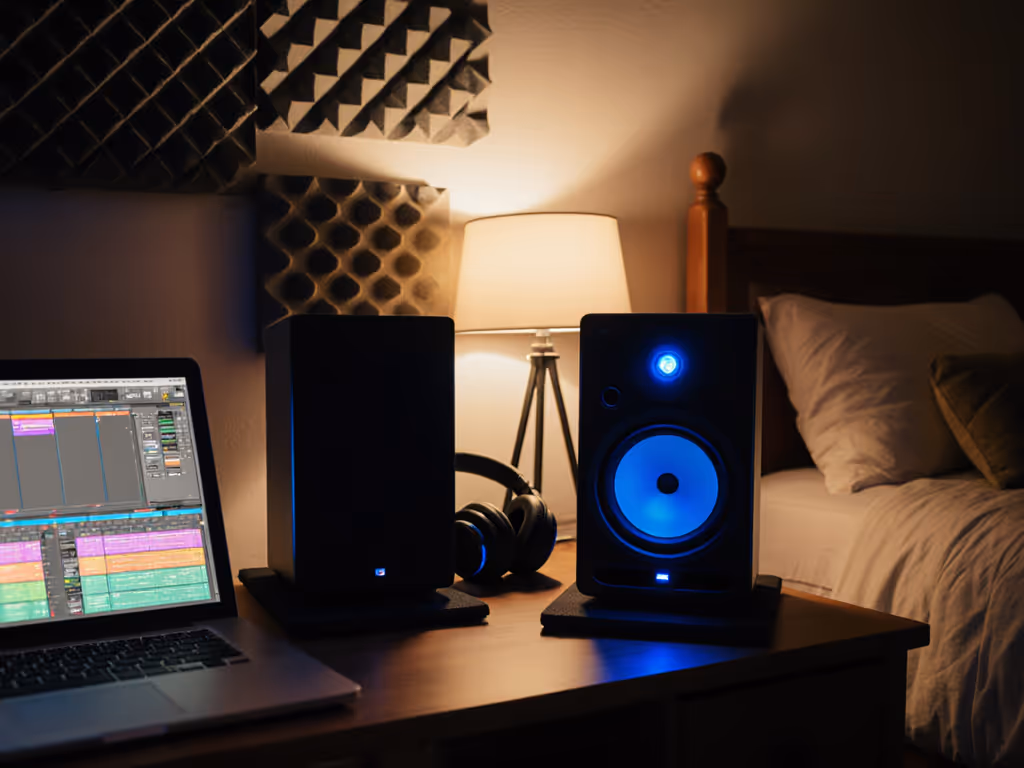
When you share walls with neighbors or roommates, monitoring in shared living spaces becomes a discipline in precision rather than volume. Most bedroom producers and apartment-based mix engineers face a hard choice: work quietly and risk mistrust in their low-end, or crank levels and invite conflict. There is a third path (built on careful placement, isolation, and honest monitoring at conversation-level SPL). This guide walks you through a rental-friendly studio setup that lets you finish work confidently without waking the building.
Why Quiet Monitoring Matters More Than You Think
Loud monitoring hides problems. A boomy room at 85 dB SPL flatters bad bass decisions and masks phase issues until your mix hits earbuds and the illusion collapses. Quiet, consistent work reveals truth faster. When you commit to working at 70-75 dB SPL, the level of conversation, your mixes tend to translate better everywhere because you've built them on clarity, not excitement. Your eyes stay sharper, your ears stay fresher, and your clients notice fewer revision requests.
But quiet monitoring only works if your setup is designed for it. A monitor that loses bass articulation below 80 dB is worthless in a shared space. Desk reflections that smear the midrange at a nearfield distance of 0.8 meters will tank your decision-making no matter the SPL. This guide fixes that.
Step 1: Measure Your Nearfield Distance and Lock Your Ear Position
Your room doesn't decide your monitoring quality, your geometry does. Before placing a single monitor, establish where your ears will sit.
The 90-degree triangle rule: Position your listening chair so that when you sit with your back at the center of the desk, the distance from each ear to each monitor is equal, forming an equilateral triangle. For most compact rooms (8x10 to 12x14 ft), this means monitors roughly 1 meter apart and 0.8-1.0 meter from your ear.
Action checklist:
- Measure from your standard ear position to where each monitor will go. Use a tape measure; don't guess.
- Mark ear position with a tape strip on the chair or desk so you always sit in the same spot.
- Set a timer for 2 minutes and practice returning to that position with closed eyes. Consistency matters more than perfection.
Why this matters in shared living: If your sweet spot is too narrow, you'll micro-adjust constantly, changing the balance with every small movement. That wastes focus and invites fatigue. A properly triangulated setup gives you a usable sweet spot of +/- 15 cm (wide enough to move naturally without losing truth).
Step 2: Choose the Right Wall and Reduce Desk Bounce
Desk reflections are the enemy of quiet accuracy. For step-by-step positioning to minimize desk bounce and set correct ear height, see our monitor height and placement guide. Sound bounces off your desk surface back into the monitors, canceling some frequencies and reinforcing others, usually muddying the low-end and collapsing stereo imaging. At low SPL, these artifacts become harder to ignore because you're relying entirely on directness.
Placement principle: Position monitors so they fire over the desk, not into it. Tilt monitors up 10-15 degrees so the acoustic axis points toward your ears at ear height, not the work surface.
Non-permanent acoustic treatment steps:
- Place heavy fabric or a yoga mat on the desk surface between you and the monitors to dampen early reflections.
- Lean a thick blanket or moving blanket against the wall immediately behind the monitors, creating a soft barrier without permanent installation.
- Use isolation pads under each monitor to reduce vibration transfer into the desk, which couples energy back into the room and your chair.
Timer drill: Sit down, close your eyes, and listen for image focus. Do the vocals feel centered, or do they shift left or right? If they shift, your toe-in angle or monitor height is off. Adjust 2-3 degrees and listen again. Spend 5 minutes on this; it's the foundation of every good mix.
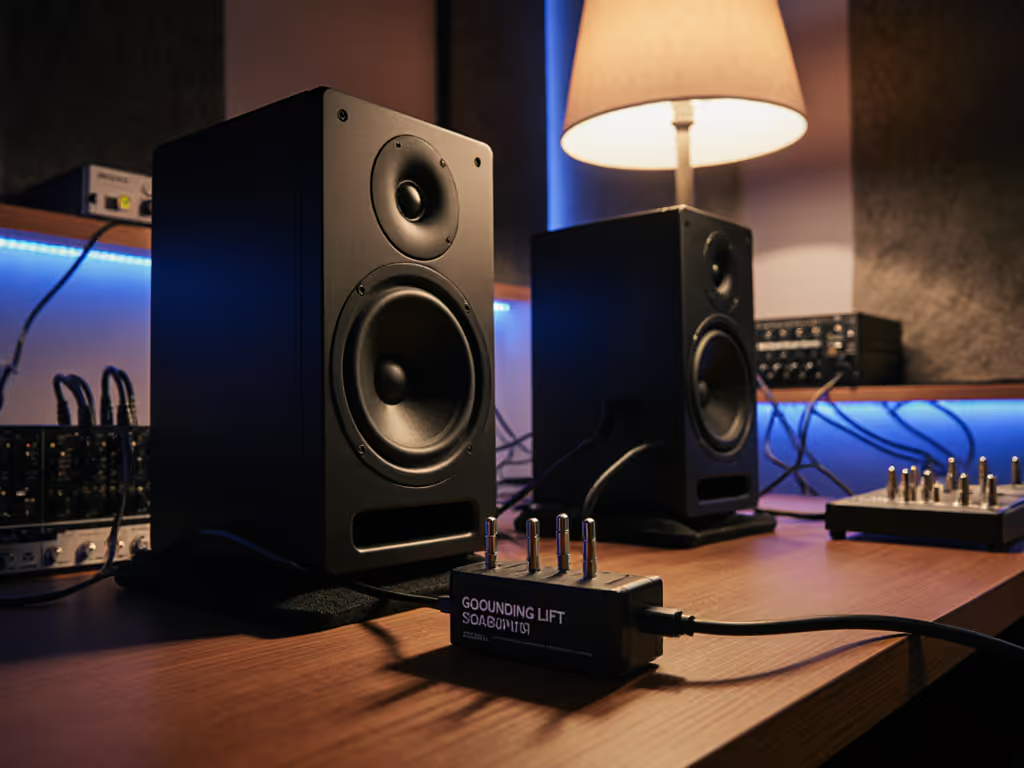
Step 3: Implement Vibration Isolation for Apartments
Vibration isolation is the most overlooked tool in shared living. When your monitors vibrate directly into the desk, the desk vibrates into the stand or bracket, and the stand vibrates into the floor slab your neighbor feels underneath them. You're transmitting noise vertically through the building structure.
Isolation layers:
- Isolation pads (3-4 cm thick, density-rated for your monitor's weight) decouple monitors from the desk surface. This reduces high-frequency chatter and low-end mud dramatically.
- Desk isolation: If your desk vibrates easily (press your hand on it during monitoring), add a mass-loaded barrier or damping layer under the desk itself, or use isolation feet to lift the desk off the floor slightly.
- Chair isolation: Your chair transmits vibration back into the floor. If you notice rumble during loud check sessions, place dense floor pads under the chair's feet.
Quiet monitoring solutions at low SPL: Isolation pads also improve perceived bass clarity at 70-75 dB. The decoupling reduces room modes from reinforcing unwanted frequencies, so your low-end feels more honest even when the volume is gentle.
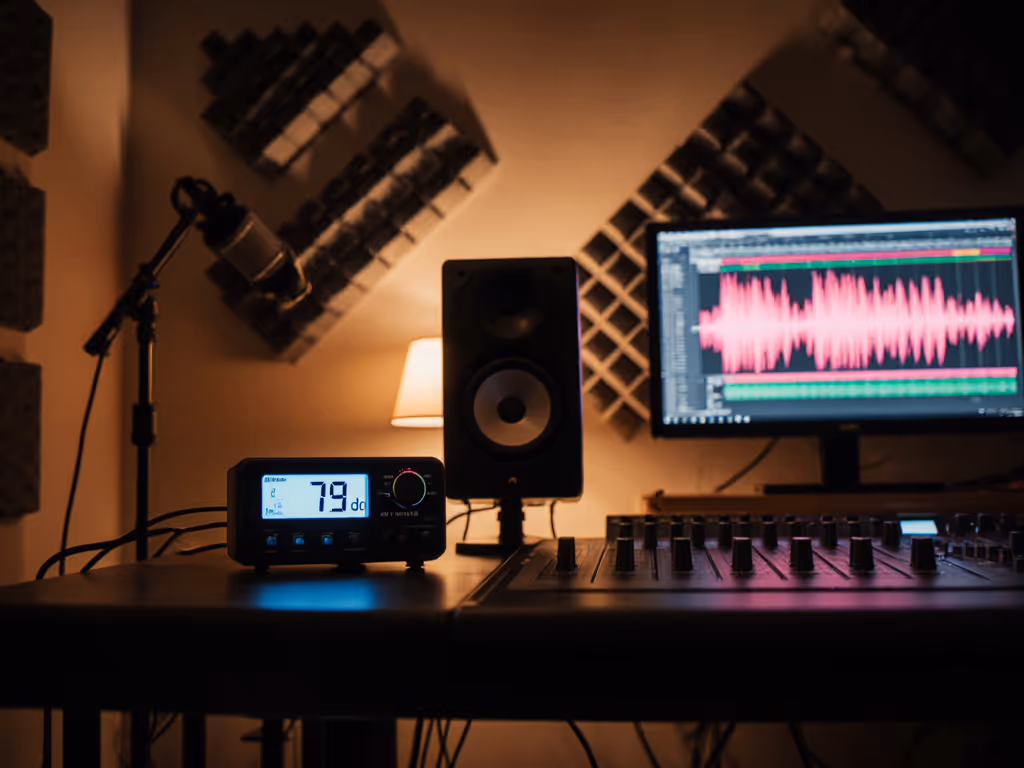
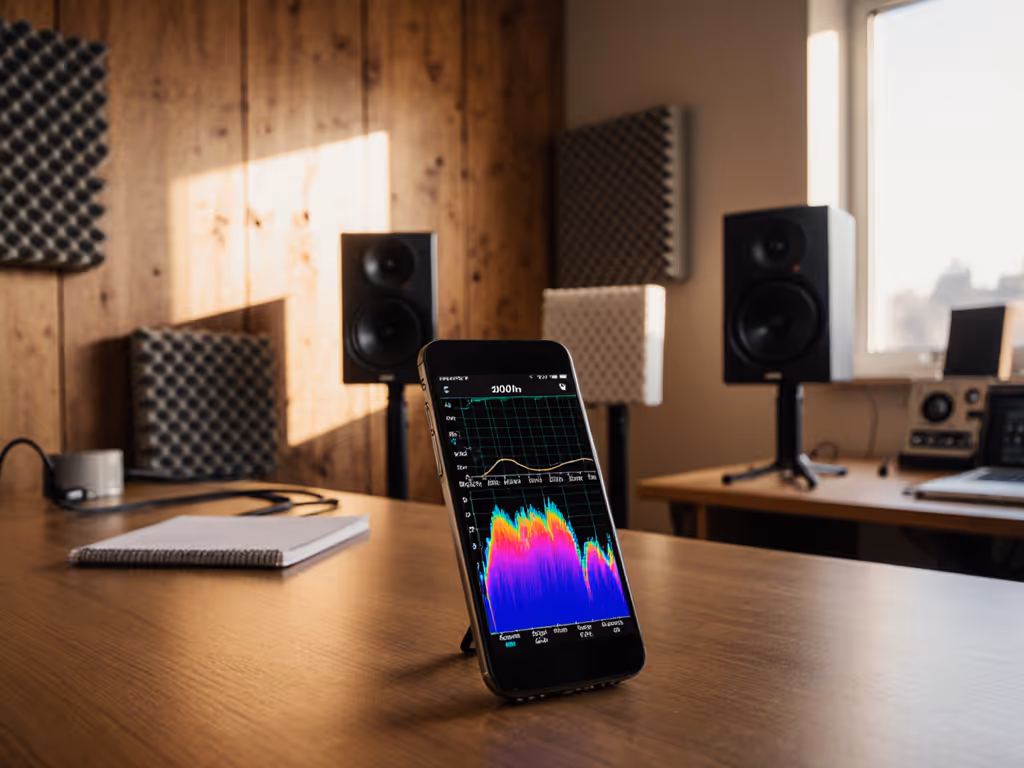
Step 4: Adopt a Quiet Monitoring Schedule with SPL Targets
Working at safe levels is non-negotiable, but it requires discipline. Use our safe listening level guide to set targets that protect hearing without sacrificing accuracy. Set targets and stick to them.
Recommended SPL workflow:
- Main session (detail work, critical listening): 70-72 dB SPL, measured at your ear position with a phone app or SPL meter.
- Balance pass (mixing, spatial decisions): 74-76 dB SPL, still gentle but closer to conversational playback.
- Occasional loud check (clip safety, impact, headroom): 82-85 dB SPL, no more than 3-5 minutes, once per hour.
- Final reference check: Return to 72 dB SPL and trust your ears.
Timer-based session structure:
- Work for 50 minutes at quiet levels, mixing and making decisions.
- Take a 10-minute break; step outside the room, rest your ears.
- Spend 2 minutes on a brief loud check at higher SPL only if you need impact verification.
- Return to 72 dB and complete your session or move to another project.
Protect your ears by treating this schedule as non-negotiable. Fatigue from pushing volume leads to poor decisions and hearing fatigue that compounds over weeks.
Step 5: Set Up Temporary Acoustic Treatment
You can't build walls in a rental, but you can add strategic absorption without landlord drama. For a deeper overview of placement basics and treatment priorities, read our placement and room treatment essentials.
Rental-friendly, non-permanent acoustic treatment:
- Heavy rugs or yoga mats on the floor between you and the monitors to absorb early reflections and reduce flutter echo.
- Thick curtains or moving blankets on the wall immediately behind the monitors (lean them, don't nail them).
- Bookshelves or soft furniture against shared walls to dampen transmission into adjacent units.
- Corner bass traps (even temporary foam panels or folded comforters in corners) reduce room modes that muddy low-frequency decisions.
You won't achieve studio-grade acoustics, but you can flatten the most egregious artifacts. The goal is to reveal your mix truth at quiet levels, not to create a perfect room.
Step 6: Reference and Iterate Fast
Once placement and isolation are locked, commit to a reference workflow that minimizes second-guessing.
Reference discipline:
- Mix on your monitors at 72 dB SPL for the bulk of the session.
- Every 15 minutes, play a familiar reference track (a commercial mix in your genre) at the same 72 dB level. Your monitoring should match that balance and tone roughly. If it doesn't, something in your mix is untruthful.
- After 90 minutes of work, switch to earbuds or a phone speaker for a 2-minute check. Jot down any surprises.
- Return to the monitors at 72 dB. Make corrections based on that brief check.
- Do one final loud check (82 dB) only to confirm headroom and clip safety. Then stop.
This rhythm keeps you accountable without burning out. It also proves that quiet work that translates beats loud work that impresses. Your mixes hold up everywhere because they're built on consistency, not hype.
Step 7: Document Your Setup for Repeatability
Once you've dialed in placement, isolation, and SPL targets, write it down.
Setup checklist to archive:
- Monitor toe-in angle (e.g., "12 degrees up, aimed 2 inches above ear height")
- Distance from ear to each monitor (e.g., "0.95 m center to center")
- Isolation pads used (type, thickness, serial if tracked)
- Desk and wall treatment applied
- Reference SPL for main session work (72 dB)
- Time of day and room temperature (for consistency, if relevant)
Take a photo of your setup from above, showing the triangle geometry. Store this in a project template or note app. If you adjust anything later, note what changed and why.
Your Next Move: Audit and Test
You're ready to build trust in your setup. Here's your action:
This week: Measure your ear-to-monitor distances, dial in toe-in and height so the acoustic axis hits your ears dead-on, and add one isolation layer (pads or desk damping). Spend one full 50-minute session mixing at 72 dB SPL with no loud checks.
Next week: Reference that mix on two other playback systems (earbuds, a friend's car speakers, a portable speaker). Jot down any surprises. If the low-end is too thin everywhere, your monitors are likely underperforming at quiet levels, so flag that for future investigation. If you need speakers that stay accurate at whisper levels, check our apartment-friendly quiet monitor picks. If the mix translates well, trust the process.
Long-term: Protect your ears by treating SPL targets as rules, not suggestions. Your hearing is your livelihood. In six weeks of consistent, quiet, placed-based monitoring, you'll notice fewer client revisions and faster approvals. That is not luck (it is the result of building mixes on truth, not volume).
Quiet, honest work in a shared space is entirely possible. Start with geometry, add isolation, lock your SPL, and mix with intention. Your neighbors will thank you. Your clients will thank you more.
Related Articles