Studio Monitors That Translate With Hearing Loss
By Lila Okafor • 20th Nov
When your hearing loss makes selecting studio monitors speakers feel like Russian roulette (where mixes that sound polished in your cramped bedroom studio collapse on earbuds or car systems), you're not alone. For producers and engineers working with high-frequency roll-off or tinnitus, the best audio monitors aren't about flashy specs but predictable translation. Because if your brain is already straining to decode distorted 8 kHz content, lying monitors turn critical decisions into guesswork. Let's cut through the noise with actionable solutions grounded in how hearing impairment reshapes your monitoring reality.
Why controlled directivity matters more when hearing degrades
Most hearing loss (especially age- or noise-induced) hits 2-8 kHz first, the very frequencies where monitors often beam erratically off-axis. When your left ear struggles at 4 kHz, a speaker with wild dispersion will:
- Exaggerate harshness in vocal sibilance at your listening position (causing fatigue)
- Hide frequency gaps when you lean slightly forward (destroying stereo imaging)
- Mislead bass perception as your brain compensates for missing highs (resulting in thin mixes)
This is where stable off-axis response becomes non-negotiable. Unlike mainstream reviews raving about "airy" highs, your metric is whether 3 kHz maintains coherence within a 15° vertical window. Why? Because when you're squinting at Pro Tools, your ear height shifts constantly. If the monitor's power response dips at that angle (like many ported designs), your compromised hearing will misdiagnose the issue as "weak highs", leading to over-boosting and ear fatigue. Controlled directivity flattens these illusions. A client once boosted 8 kHz by 9 dB chasing clarity, unaware his room's 250 Hz null was masking vocal fundamentals. We cut the desk height, adjusted toe-in, and applied a surgical low-latency cut. The sparkle stayed, revisions didn't. Curves matter, but only as far as rooms allow.
How to calibrate for hearing loss without expensive gear
Forget "music programs" on hearing aids. They're EQ presets for passive listening, not dynamic mixing. Monitor calibration for hearing loss requires these low-cost steps:
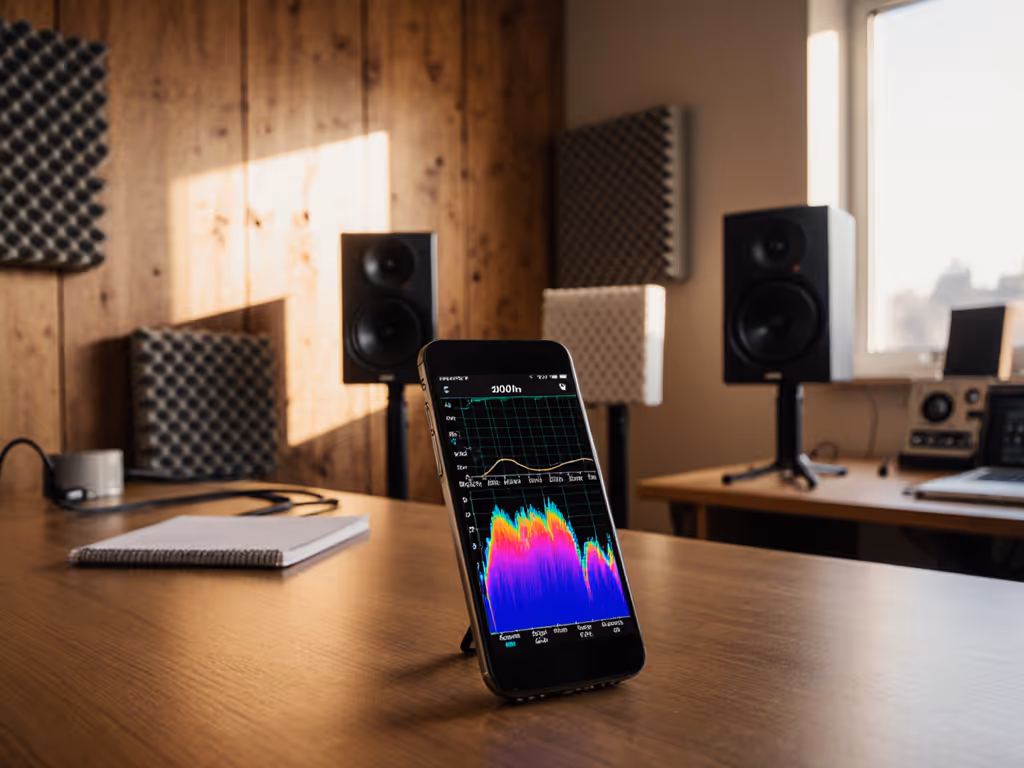
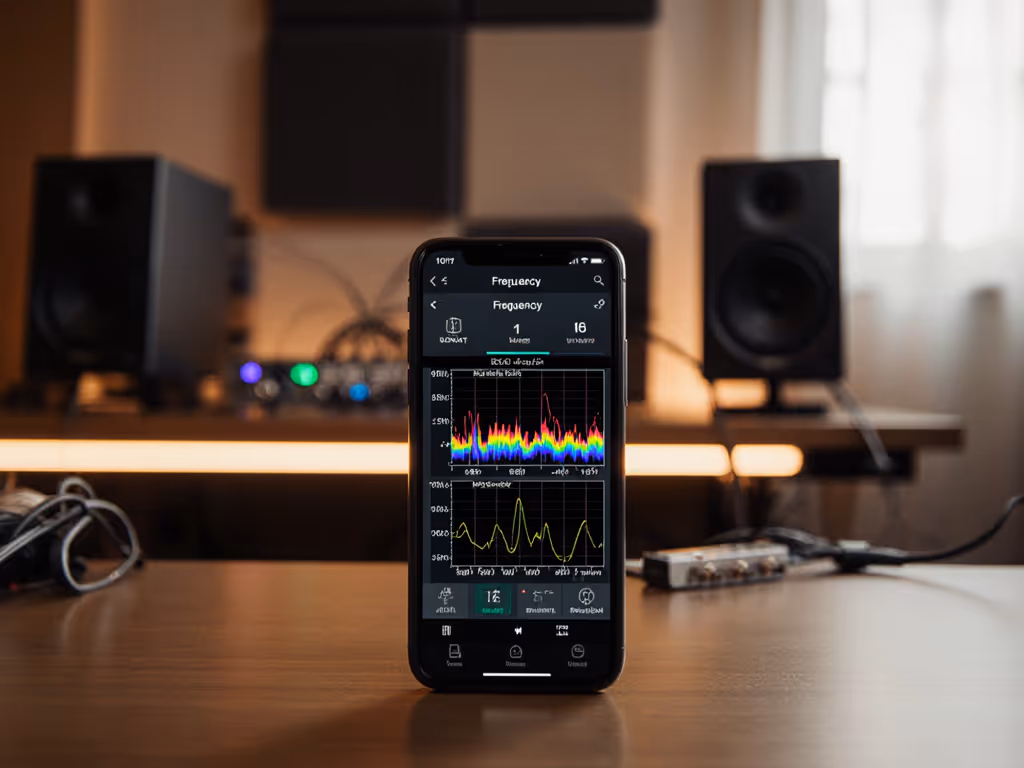
- Map your residual range: Play sine waves at 65 dB SPL (the loud curve setting). Note where you lose tonal definition (e.g., "8 kHz sounds like white noise").
- Cross-reference with room curves: Use free apps like Room EQ Wizard to overlay your room's response at ear height. If you need a walkthrough, follow our step-by-step monitor calibration guide tailored for home studios. A 200 Hz dip in your room might mimic your hearing loss, causing you to overcompensate bass.
- Prioritize low-latency fixes: High-processor DSP (like some room correction) adds >10 ms latency, which is dangerous when you're already compensating for auditory delays. Instead:
- Apply narrow cuts (Q=4) below 120 Hz to combat room modes
- Shelf down above your distortion threshold (e.g., -3 dB at 10 kHz if 8-12 kHz clips)
- Never boost frequencies you can't reliably hear
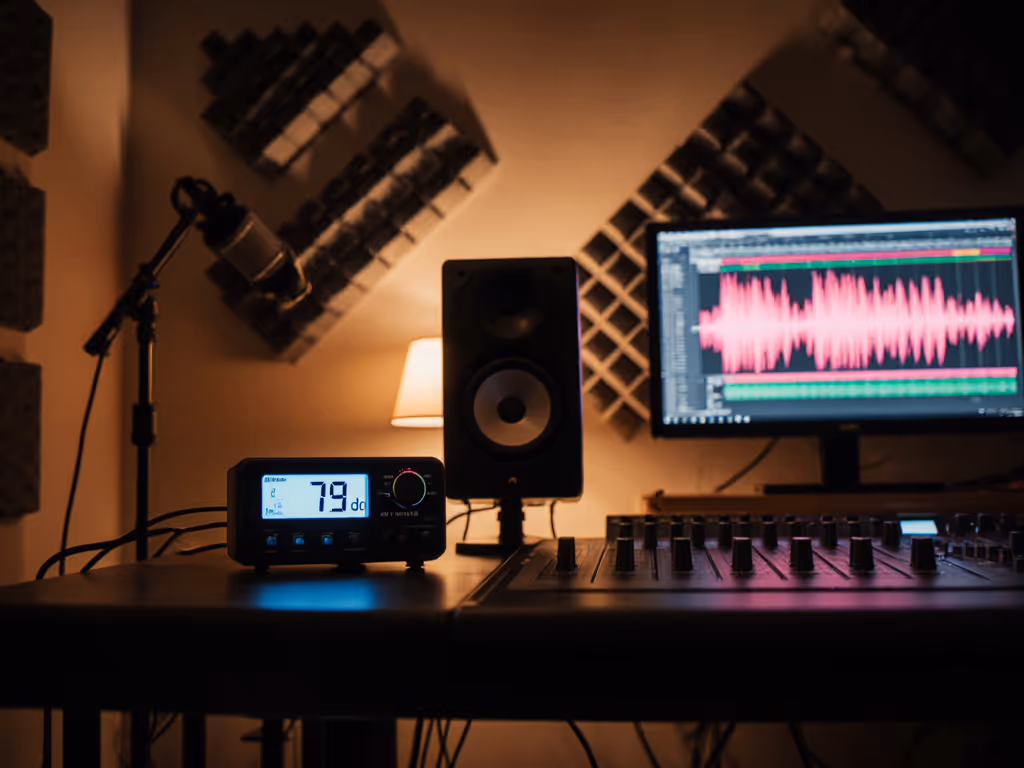
Your safe monitoring ceiling isn't 85 dB SPL: it is 70 dB SPL with 10 dB headroom for transient peaks. Learn practical techniques for safe monitoring levels that protect hearing without sacrificing translation. This is critical for audio production with hearing impairment where loudness masking hides distortion.
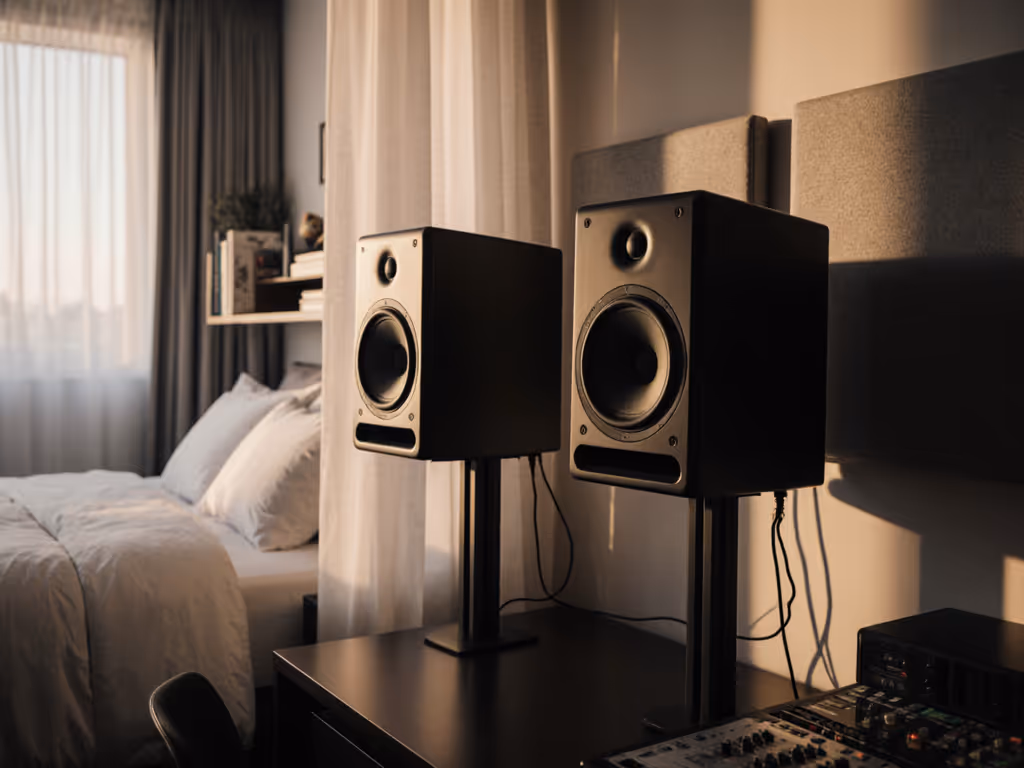
Placement tweaks that reduce listening strain
Small rooms amplify the collision between hearing loss and boundary effects. Dial in ear-height and angle precisely with our studio monitor height and placement guide. When your midrange perception is compromised, desk reflections will feel like "muddy highs", pushing you to crank monitors unsafely. Try these:
- The One-meter reality check: Place monitors at ear height exactly 1 meter away. Measure your head height seated. If it's above 100 cm, use stands, not desks. (Most hearing loss sufferers sit upright to see meters better, raising ears into tweeter lobes.)
- Asymmetric toe-in: Point the better-hearing-side monitor slightly inward. If your left ear has 20 dB loss at 6 kHz, toe-in the right speaker 15° while keeping the left at 0°. This evens perceived brightness.
- Kill desk coupling: Your hearing loss might make you misinterpret vibration as "boomy bass." Place monitors on dense foam (not springs) and isolate the desk from the floor. Test at 500 Hz: vibration here feels like resonance.
A key insight: monitors with minimal port chuff (like the Neumann KH 80's waveguide design) prevent low-SPL distortion that hearing loss sufferers mistake for "lacking bass." When you're working quietly at 65 dB SPL, port turbulence below 40 Hz can smear kick drums, tricking your brain into boosting 100 Hz.
Why translation beats "exciting" sound
That producer who loves boosted highs until they see their room's response curve? I've been there. Good studio monitors for hearing loss prioritize consistency across playback systems, not studio "wow" factor. Specifically:
- Flat power response prevents ear fatigue during 4+ hour sessions (critical when straining to hear)
- Controlled bass extension to 45 Hz (no sub needed) ensures kick drums translate to earbuds
- < 3 dB off-axis swing from 300 Hz-5 kHz maintains vocal clarity as you move
Skip monitors with:
- Extreme sensitivity (>90 dB SPL/W) that encourages unsafe volumes
- Aggressive waveguide beaming (exaggerates frequency gaps)
- High distortion above 80 Hz (mimics hearing loss symptoms)
Validation techniques that don't require perfect ears
If your hearing loss skews toward high-frequency roll-off, use these accessible mixing solutions:
- The car test hack: Play your mix in-car before fixing it. If the bridge sounds dull there but harsh on monitors, you're overcompensating.
- Bass-check via vibration: Place a hand on your desk. If kick drums feel weak but sound loud, you're boosting mids (common with HF loss).
- Dialogue intelligibility scan: Mute 500 Hz-2 kHz. If vocals disappear, your hearing loss isn't the issue, it's a room null.
Remember: goal isn't perfect hearing but repeatable decisions. Before upgrading monitors, use our studio monitor audition checklist to evaluate what actually helps your translation. When my left ear can't resolve 12 kHz, I trust the 5 kHz-8 kHz range where response stays linear. That's why I measure everything at 1 meter (one-meter reality check).
Next steps for sustainable mixing
Hearing loss in audio isn't a career killer, it's a constraint to engineer around. Start tomorrow:
- Measure your room's response at listening position (free software works)
- Identify where your hearing loss overlaps with room issues (e.g., "4 kHz dip in room + 15 dB hearing loss")
- Apply surgical cuts (not boosts) to problematic zones
- Work at 68-72 dB SPL max (use a $20 meter)
For deeper validation, compare your mix against translation benchmarks, not ideal systems. Grab a $20 Spotify Premium account and test on:
- Laptop speakers (YouTube video)
- Earbuds (iPhone stock)
- Budget Bluetooth speaker
Your mix should survive these, not sound "great." Because with hearing loss, chasing perfection risks your greatest asset: usable ears. Curious how specific monitors handle off-axis stability in small rooms? I've mapped the dispersion behavior of 12 compact models in my Small Room Lab Report, where controlled directivity meets hearing reality. [Explore evidence-based monitor comparisons]
Verbatim allusion: Curves matter, but only as far as rooms allow. And with precise placement and honest power response, your hearing loss won't dictate your mixes, it'll refine your judgment.
Related Articles