Studio Monitor Audition Checklist: Trust Your Mixes
By Jae Min Park • 15th Nov
When your mixes crumble on earbuds, phones, or car systems (especially in that mysterious 60-120 Hz range), you've likely encountered the #1 problem with studio monitor audition techniques: evaluating speakers without accounting for your room's reality. Far too many beginners skip the fundamentals of proper monitor audition setup, then wonder why their decisions don't translate. The truth is, reliable monitor evaluation happens when you assess how speakers behave in your actual working environment, not in showroom splendor. I've seen countless students upgrade gear but still fail basic car checks, until we implemented two tennis balls under each speaker and moved their desks away from walls. Suddenly, their mixes traveled. Confidence comes from a stable monitoring routine, not chasing specs or hype.
Why Standard Audition Advice Fails Small Rooms
Most studio monitor guides assume ideal conditions: symmetrical rooms, professional treatment, and optimal speaker placement. But in your bedroom studio or spare room (likely 8x10 to 12x14 ft with reflective surfaces), those recommendations often backfire. Evaluating monitors without accounting for boundary effects means you're really testing how badly your room corrupts sound, not the speaker's true performance. For a deeper primer on how acoustics and treatment affect monitor accuracy, read our room treatment essentials. Instead, focus on these practical steps that work where you actually create:
The Essential Setup Before You Listen
Before pressing play on any test track, ensure your audition environment reflects reality. This isn't about perfection; it's about creating a baseline that mimics your actual workflow. Skip this, and you're comparing corrupted sound against corrupted sound.
Space Your Speakers Properly (Even in Tight Quarters)
In small rooms, the equilateral triangle setup (where distance between speakers equals distance from each speaker to your head) often isn't physically possible. Instead, prioritize these non-negotiables:
- Minimum 2 feet from side walls to reduce bass buildup
- At least 12-18 inches from the front wall (your desk edge)
- Tweeters at ear height when seated
- Slightly toed-in so tweeters point just behind your head
Set it right once; spend your energy finishing songs.
Remember that desk reflections create major midrange smearing. See our desk reflection and height guide for precise setup. If stands aren't feasible, place monitors on dense isolation pads (like closed-cell foam) angled upward slightly. That tennis ball trick I mentioned? Two under each monitor creates instant isolation, try it before you buy.
Step 1: Establish Your Real-World Listening Level
Most people audition monitors at volume levels they'd never use for actual mixing. This creates false impressions of "punch" or "clarity" that disappear at working levels. Your studio monitor audition techniques must account for how you actually work.
The 75 dB SPL Standard
Professional standards recommend calibrating to 85 dB SPL for individual speakers (pink noise), but in small, untreated rooms where neighbors matter, you'll likely work quieter. For a full walkthrough with free and paid tools, use our home studio calibration guide. Here's the practical test:
- Set up an SPL meter (or free phone app) at listening position
- Play pink noise through one speaker
- Adjust volume to 75 dB SPL - a safe, sustainable level for 3+ hour sessions
- Repeat for the other speaker
- Now evaluate your test material at this consistent level
This simulates how you'll actually make decisions. If a monitor loses low-end clarity at this volume, it's not suitable for your workflow, no matter what the specs claim. Properly evaluating monitor sound quality means judging performance at your working levels, not showroom volumes.
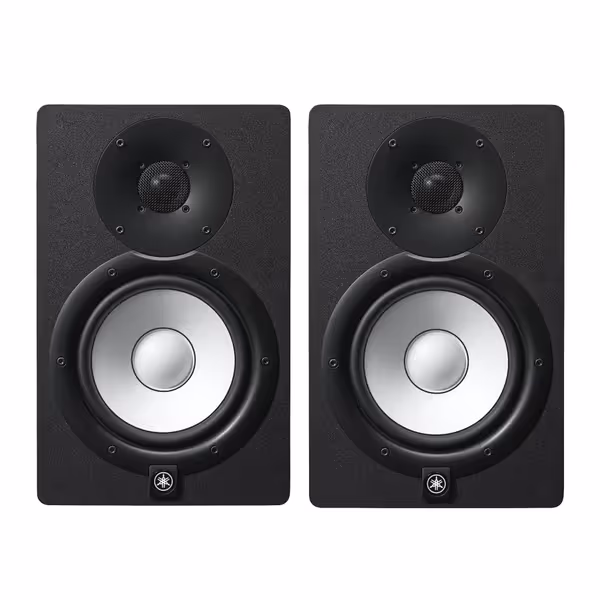
Yamaha HS7 Monitors (Pair)
Accurate, balanced sound for reliable mixes in any small room.
$699.98
Frequency Response43Hz - 30kHz
Frequency Response43Hz - 30kHz
Pros
Clear, unfatiguing mids & highs for vocal clarity.
Tight, consistent bass holds up on all playback systems.
Trusted by pros for honest mix translation.
Cons
Bass extension may require a sub in larger rooms.
Neutral sound might feel less "exciting" than consumer speakers.
Customers find these studio monitors to be top quality equipment with great sound.
Customers find these studio monitors to be top quality equipment with great sound.
Step 2: Test with Translation-Focused Material
Don't waste time with "audiophile" tracks designed to impress. Instead, bring material you know translates well across platforms. I recommend these three test tracks that reveal what truly matters in small rooms:
The Critical Listening Sequence
- A well-mixed pop vocal track (focus on consonant clarity at 2-5 kHz)
- Does "s" and "t" sound natural or harsh?
- Can you distinguish individual voices in dense arrangements?
- An electronic track with sub-bass (test below 80 Hz)
- Does the kick drum feel punchy yet defined, or just "thumpy"?
- Can you hear the transition between kick and bass synth?
- A stripped acoustic recording (test midrange honesty)
- Does a guitar's wood resonance sound natural?
- Is there unnatural "boxiness" in the 250-500 Hz range?
Pay special attention to how these elements translate to your phone speakers afterward. If a monitor makes you over-EQ vocals to sound clear on your system, but they're harsh elsewhere, you've found a liar. True studio monitors help you make decisions that hold up everywhere, not just sound impressive in your room.
Step 3: Evaluate the Sweet Spot (Not Just the Center)
Many monitors have narrow sweet spots that make small head movements completely change the balance. If this resonates, compare models by their off-axis response data to identify wider sweet spots. In cramped workspaces where you're constantly leaning toward your keyboard, this creates decision paralysis.
The Chair Test
- Play a consistent stereo track with prominent center elements
- Sit in your normal position and note the balance
- Move your head 6 inches left - does the center image collapse?
- Move 6 inches right - does the high-end become harsh or dull?
- Tilt your head up/down - does imaging stability hold?
If small movements dramatically change what you're hearing, you'll spend endless time repositioning yourself instead of making decisions. The best studio monitors for small rooms maintain reasonable imaging stability through normal movement range.
Step 4: Check for "Quiet Room" Performance
This is the make-or-break test many overlook: how does the monitor perform at low volumes? Learn how to monitor safely without losing accuracy in our safe listening levels guide. In apartment studios, you often work quietly late at night. Many speakers lose low-end coherence and midrange clarity below 80 dB SPL.
The Late Night Simulation
- Calibrate to 70 dB SPL total (about 67 dB per speaker)
- Play that electronic track with sub-bass again
- Can you still distinguish kick from bass elements?
- Does the vocal maintain intelligibility without boosting highs?
If you find yourself boosting low-end just to hear it at working volumes, you're setting yourself up for bass-light mixes. Reliable studio monitors maintain tonal balance across your entire working volume range.
The Verdict: What Actually Matters
When evaluating monitors, ignore the "wow" factor and focus on what creates reliable results in your space. The best test isn't how impressive they sound, it's how consistently your decisions translate across playback systems with minimal revision loops.
Quick Trust-Building Checklist
- Sounds honest at your actual working volume (not showroom levels)
- Maintains imaging stability through normal movement range
- Allows you to make bass decisions that translate to earbuds/car
- Doesn't require constant reference hopping to verify decisions
- Lets you work quietly without losing low-end coherence
Remember why we do this: to eliminate the anxiety of "will this mix hold up?" When you find monitors that work with your room instead of against it, you stop chasing perfect sound and start making trustworthy decisions. That's when mixes go out the door instead of back to revision.
Start small, finish more. Your gear doesn't need to be perfect, it just needs to be reliable enough that you can trust your ears and finally ship your work. Set up properly, even modest studio monitors become translation powerhouses. Now go apply these studio monitor audition techniques to your next listening session and notice the difference.
Related Articles