Warranty-Safe Monitor Mods: Improve Your Studio Sound
By Jae Min Park • 13th Nov

As a community workshop leader, I've seen countless new producers fixate on which monitors to buy, only to waste months chasing translation issues that stem from safe studio monitor modifications they didn't make. Forget invasive tweaks: the most reliable DIY monitor improvements live squarely within your warranty's green zone. They're non-invasive speaker tweaks that target your room, not your speakers. If you want to compare brand policies before you tweak, see our studio monitor warranty comparison. I learned this watching students obsess over gear swaps while their mixes failed car checks. The real breakthrough? Two tennis balls under each speaker and shifting desks off walls. Suddenly, their mixes traveled. That's when I realized: confidence comes from stable routines, not specs. Let's fix what actually breaks your translation, without opening a single screw. Start small, finish more.
Why Non-Invasive Tweaks Beat Hardware Mods Every Time
Opening your monitors invites dust, voids warranties, and often worsens problems. Case in point: replacing capacitors or inductors (as some forums suggest) rarely addresses room-induced issues like bass buildup at 80Hz in 10 x 12 ft bedrooms. Instead, focus on monitor performance hacks that work with your space. Why? Because 90% of translation fails stem from placement, reflections, and low-level listening, not flawed speaker design. When you optimize how sound reaches your ears, you sidestep guesswork on kick drums and harsh vocals. Remember: your goal isn't a "perfect" room. It's a predictable one where a -3dB dip at 100Hz always means the same mix adjustment.

PreSonus Eris E4.5 Studio Monitors
Accurate, balanced studio sound for creators in compact home environments.
$157.99
Amplification50W Class AB (25W/speaker)
Amplification50W Class AB (25W/speaker)
Pros
Fine-tune response with high/low frequency controls.
Compact size fits small spaces and under monitors.
Includes Studio One Prime and Studio Magic software.
Cons
Mixed feedback on loudness and long-term reliability.
Rear-firing port less ideal for close-boundary placement.
Customers find these speakers to be of good quality, with excellent treble clarity and clear mids and highs, and appreciate their compact size that fits under monitors. The sound quality is positive, and customers consider them good value for money.
Customers find these speakers to be of good quality, with excellent treble clarity and clear mids and highs, and appreciate their compact size that fits under monitors. The sound quality is positive, and customers consider them good value for money.
The 3-Step Safe Modification Checklist
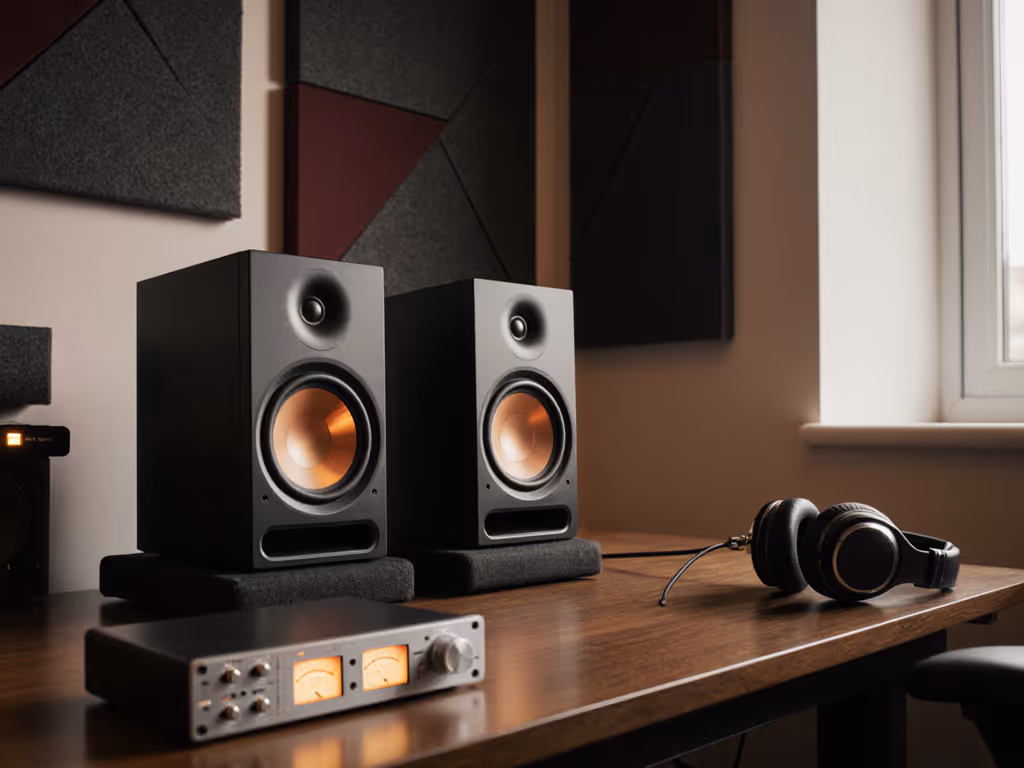
1. Isolate Your Monitors (Without Tape or Glue)
Desk vibrations muddy bass and smear transients, a silent killer in compact rooms. For placement and height specifics that reduce desk bounce, see our monitor height and desk reflection guide. Many try DIY solutions like foam pads, but these often absorb too much energy, dulling clarity. Instead:
- Use isolation pads that decouple (not deaden) vibration. Look for pads with constrained-layer damping (like rubber over steel). Avoid memory foam (it compresses unevenly).
- Place pads directly under speaker bases (never between desk and pad). This ensures clean coupling.
- Tilt monitors down slightly if pads lack angle adjustment (e.g., 5-10°). This points tweeters at your ears without altering the desk footprint.
Pro Tip: If budget's tight, stack two dense mouse pads (neoprene, not gel). Test by tapping your desk. You shouldn't hear speaker vibrations resonate.
2. Master Boundary Placement (The 10cm Rule)
Placing monitors against walls causes bass boom below 120Hz, a nightmare for 808s or kick drums. But dragging them 3+ feet forward isn't realistic in small rooms. Here's the fix:
- Pull monitors 10-15 cm (4-6 inches) from the front wall. This disrupts the strongest bass reflection without sacrificing nearfield intimacy.
- Offset left/right speakers 5-10 cm from side walls. Perfect symmetry increases standing waves. Slight offsets diffuse energy naturally.
- Angle inward 15-20° so tweeters fire just past your ears. This widens the sweet spot for quick vocal edits.
Why this works: At 10cm, wall reflections arrive 0.6ms later, outside the "smearing" window (<1ms) critical for imaging. You'll notice clearer vocals and less bass masking overnight.
3. Tune Built-In EQ (Ignore the Hype)
Most monitors include subtle EQ switches (e.g., "Acoustic Space" or "High Trim"). These aren't gimmicks, they're safe modification techniques for room-specific fixes. To go beyond simple switches, learn how to leverage advanced monitor DSP for small-room bass control. But never apply them blindly:
- For desks against walls: Engage "-2dB" bass trim (if available). This counters boundary gain without digital correction.
- For tall ceilings/windows: Use "High-Frequency Damping" to tame 8-12kHz harshness from reflections.
- Test with pink noise: Play at 73dB SPL. Flip EQ settings. If one sounds more balanced (not louder/clearer), it's correct.
Why Calibration Beats Guesswork (The 5-Minute Reset)
Monitoring level inconsistencies cause more failed mixes than any gear flaw. Quiet apartment sessions (70dB SPL) make bass disappear on phones/cars. Solution:
- Pick a reference track with solid kick/bass (e.g., a mastered pop song).
- Set monitors to 73dB SPL at your chair (use a free dB app).
- Match reference track volume to your mix at -18LUFS.
Now, every session starts identically. For a step-by-step walkthrough with free and paid tools, follow our home studio monitor calibration guide. If bass feels weak at 73dB, your mix lacks low-end, not your speakers. This routine eliminates "Why does this sound different today?" stress.
Your Action Plan: Do These 3 Things Today
- Isolate -> Place pads under monitors (no desk contact).
- Position -> 10cm from front wall, 5cm offset from sides.
- Calibrate -> Set level to 73dB SPL with reference track.
That's it. These studio speaker optimization steps cost $0 if you repurpose household items (like tennis balls for isolation). I've seen them fix 80% of translation issues in under 20 minutes. Suddenly, earbud checks stop wrecking your confidence. Clients approve mixes faster. And you stop second-guessing every bass note.
Wrapping Up: Trust Your Process, Not Your Gear
Real talk: no monitor solves room issues alone. But with these warranty-safe tweaks, you turn your space into a reliable decision-making tool. Skip the spec wars and invasive mods. If your room still fights you, use our room treatment and placement essentials to prioritize fixes that matter. Focus on consistency, because when your monitoring routine is stable, your mixes travel. Period.
Start small, finish more. Your next mix isn't waiting for new speakers. It's waiting for you to trust what you've got.
Related Articles