Diagnose Studio Monitor Problems: Quick Troubleshooting Guide
By Jae Min Park • 23rd Oct
When your studio monitors cut out mid-mix or deliver weird noise, diagnosing monitor problems shouldn't mean tearing your room apart. As a bedroom producer myself, I've lost count of times I've stared at silent speakers while a deadline loomed. Good news: 90% of issues aren't broken gear (they're setup hiccups). If placement and room acoustics are tripping you up, start with our room treatment and placement essentials. Let's fix this without panic-buying new monitors. I'll show you how to isolate root causes using simple checks anyone can do, so you get back to mixing in minutes. Because confidence comes from a stable monitoring routine, not chasing specs.
Why This Keeps Happening (Spoiler: It's Usually You)
Before you blame the monitors, remember: most "failures" are actually physics fighting your room. That bass boom when you sit up? Standing waves. The hiss that vanishes when you unplug your laptop? Ground loops. Even Yamaha's HS4 monitors, with their thoughtful room-control switches, can't compensate for speakers shoved in corners or tangled cables. I've watched students in my workshops waste hours tweaking EQ while ignoring two simple truths: placement creates more problems than it solves, and noise travels through paths we forget. Like when my students finally stopped failing car checks after sliding tennis balls under their speakers and moving desks off walls. Suddenly, their mixes traveled. That's the power of checking the mundane first.
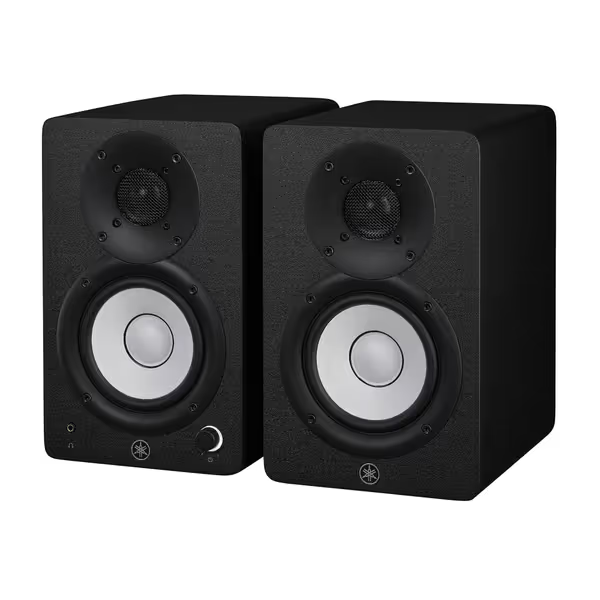
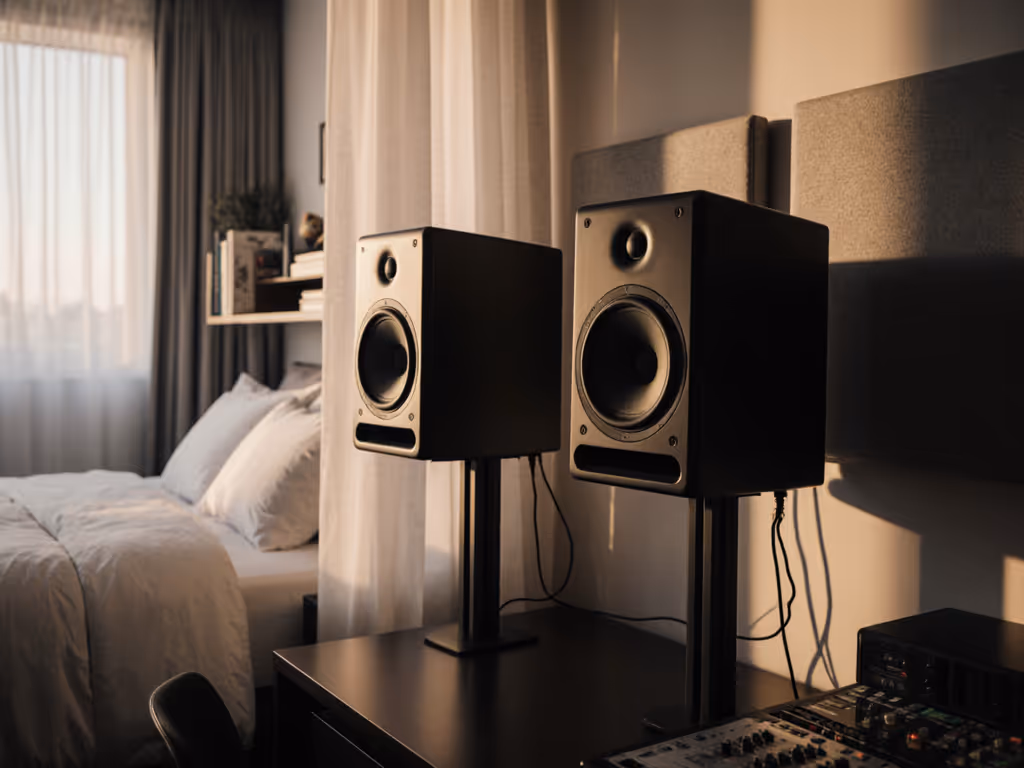
Yamaha HS4 Powered Studio Monitor, Pair
Accurate, compact monitors for reliable mixes in small, imperfect rooms.
$249.99
Frequency Response60 Hz - 22 kHz (-10 dB)
Frequency Response60 Hz - 22 kHz (-10 dB)
Pros
Phenomenal sound separation with crisp highs, mids, and bass.
Compact size ideal for small studios and tight desk spaces.
Room Control/High Trim helps adapt to untreated environments.
Includes cables and anti-slip pads for immediate setup.
Cons
Lower bass extension might require a subwoofer for critical sub-bass work.
Might not be loud enough for very large rooms or tracking full bands.
Customers praise these studio monitors for their excellent sound quality, with one noting phenomenal separation of highs, mids, and bass, and another highlighting their crisp treble. Moreover, the monitors perform well in small studios and offer good value for money, with one customer noting they deliver $1,000 worth of audio quality. Additionally, customers appreciate their compact size, clarity, and volume capabilities, with one mentioning they can fill a bedroom-sized room, while the white color adds to their appeal.
Customers praise these studio monitors for their excellent sound quality, with one noting phenomenal separation of highs, mids, and bass, and another highlighting their crisp treble. Moreover, the monitors perform well in small studios and offer good value for money, with one customer noting they deliver $1,000 worth of audio quality. Additionally, customers appreciate their compact size, clarity, and volume capabilities, with one mentioning they can fill a bedroom-sized room, while the white color adds to their appeal.
The Silent Speaker Emergency
No sound? Don't re-buy anything yet. Follow this ladder:
- Check the obvious first: Is the power strip switched on? (Yes, we've all done it.) Verify cables are seated firmly at both ends, especially the interface and monitor inputs. A loose XLR tricked me into thinking my Mackie CR3-X pair died last winter.
- Test signal sources: Play a phone track through the headphone jack. If sound works there but not monitors, the fault's after your interface. Swap cables between left/right speakers. Does the problem jump sides?
- Bypass the chain: Connect your phone directly to one monitor via 3.5mm-to-RCA cable. If sound returns, your interface or DAW settings are culprits.
Place, isolate, then decide. This mantra saves weeks of revision loops.
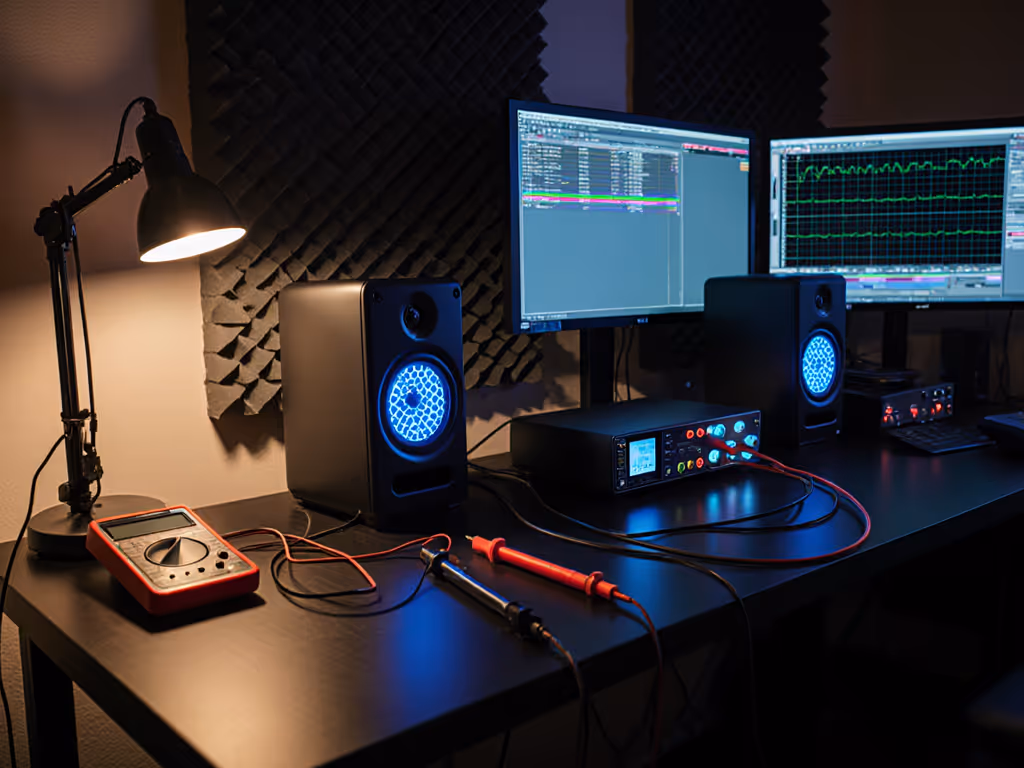
Noise Nightmares: Hiss, Hum, and Computer Buzz
That persistent hum isn't "just how monitors sound." It's a call to action. Here's your battle plan:
- Hiss at all volumes? Likely a cable or input issue. Switch to balanced XLR cables (they reject noise better than TRS or RCA). Ensure your interface supports balanced outputs, many budget models don't. Keep signal cables far from power strips or USB hubs; 6 inches minimum. We break down which monitor accessories actually reduce noise so you don't waste money.
- Bass-heavy hum that changes with volume? Classic ground loop. Plug all gear (interface, laptop charger, monitors) into the same power strip. If that fails, unplug non-essentials one by one (like phone chargers). Still humming? Try a ground loop isolator like the iFi iDefender+, a $30 fix for computer-induced buzz.
- Computer clicks/whines? USB noise is common. Move your interface away from the laptop, use a shielded USB cable, or try a different USB port. For severe cases, a USB isolator breaks the electrical connection.
Pro Tip: If noise only happens on one side, swap left/right cables. If the problem follows the cable, replace it. If it stays on one speaker, check for loose internal wiring (see next section).
Distortion and Wonky Sound: Fixing Speaker Distortion
When your kick drum sounds like a trash can, resist turning knobs randomly. Ask instead: "Did this start suddenly, or creep up over time?"
- Sudden distortion at safe volumes: Likely a blown driver. Disconnect inputs, turn system gain to minimum, then slowly increase while listening closely to each speaker. A "rattling" woofer or "fizzy" tweeter means hardware failure. Unfortunately, this needs repair. Contact the manufacturer. If your monitors are getting older, learn the signs your monitors are aging.
- Bass that booms/cancels in certain spots: Room modes at work. Move your chair 6 inches forward/backward. If that helps, don't reach for EQ yet, try shifting speakers away from walls (aim for 1-2 feet). Need quick relief? Flip the "Room Control" switch on monitors like the Yamaha HS4 to tame boundary bass. For a systematic fix, follow our step-by-step monitor calibration guide.
- Sound thin or harsh only at low volumes: Many monitors lose bass articulation when turned down. Solutions: Raise your listening position (ear level at tweeter height), or pick monitors designed for low-SPL accuracy (like the Mackie CR3-X series with their modest 50W output).
Common Studio Speaker Issues Checklists
Save this for your next crisis. When problems hit:
🔌 Power & Signal Flow
- All power cables seated? Try a different outlet.
- System Gain knob turned up? (Check manual, some need +6dB setting)
- Source volume high enough? Test with headphones.
🌐 Noise & Ground Loops
- All gear on one power strip? Unplug non-essentials.
- Signal cables far from power sources? Cross at 90° angles.
- Using balanced cables everywhere possible?
🎛️ Sound Quality SOS
- Speakers away from walls/corners? (Minimum 12 inches)
- Isolation pads under monitors? (Even a folded towel helps)
- System Gain not cranked? High settings distort at low volumes.
When to Call for Backup
Some issues need experts. Suspect these when:
- Both monitors fail simultaneously (likely power surge damage)
- Burning smells or visible charring on amplifiers
- Distortion persists after testing with multiple sources/cables
But most of the time? You've already fixed it. Remember my students: two tennis balls and a desk shuffle solved their "broken" monitors. Your gear is probably fine. The room is lying to you. Which brings us to the golden rule I live by: Place, isolate, then decide. If your room geometry is tricky, learn how to adapt placement to your room shape. Get speakers away from boundaries, decouple them from desks, and then judge the sound. Everything else is noise.
Next Steps: Build Your Confidence
You've diagnosed the problem, but how do you prevent the next panic? Dig deeper with these free, no-hype resources I've vetted for bedroom studios:
- Room Mode Calculator: Plug in your room dimensions to see where bass traps are non-negotiable (hint: corners!)
- DIY Speaker Stands: How to build rock-solid stands from PVC pipe (under $20)
- The 10-Minute Placement Test: My foolproof method to find sweet spots in cramped rooms
Confidence isn't about perfect gear. It's knowing your room speaks clearly, so you can trust your ears, and ship your work.
Related Articles